Embarking on my vintage sewing cabinet makeover journey has been an exciting adventure. Transforming an old, worn piece into a charming and functional item not only enhances its utility but allows me to express my creativity through upcycling furniture. This sewing cabinet carries a history that connects me to the past, and the process of refurbishing it has been as rewarding as it has been inspiring.
As I share my personal story of this sewing cabinet makeover, I hope to inspire others to see the potential in their own vintage finds. Whether it’s a DIY sewing cabinet refurbish or an unforgettable project that breathes new life into a beloved item, the joy of restoration is universal. Follow along as I take you through the steps that brought my cabinet back to life!
Why I Chose to Transform My Vintage Sewing Cabinet
When I first laid eyes on my vintage sewing cabinet, a wave of nostalgia washed over me. This piece holds a significant emotional connection. It was passed down from my grandmother, and every scratch and mark tells a story of countless hours spent sewing together. The sentimental value of vintage furniture like this cabinet sparks memories that I cherish. It represents not just an object but a legacy worth preserving.
The Sentimental Value of Vintage Furniture
Many people have similar treasures that evoke memories of loved ones or special moments. For me, this cabinet symbolizes family traditions and creativity. The thought of losing such a piece would break the connection to my past. Engaging in vintage restoration allows me to honor those memories while breathing new life into a cherished item. I see this transformation as an opportunity to blend past and present, creating a functional piece that still tells its story.
Finding Inspiration for My Makeover
In preparing for this makeover, I turned to various sources for inspiration. Home decor magazines, Pinterest boards, and social media groups dedicated to DIY enthusiasts offered bountiful ideas. I discovered different styles and techniques that not only retained the vintage aesthetics but also injected a modern flair. This quest for inspiration highlighted the importance of gathering ideas before diving into a creative endeavor. Each image and project fueled my passion for transforming my cabinet while preserving nostalgia and enhancing its beauty.
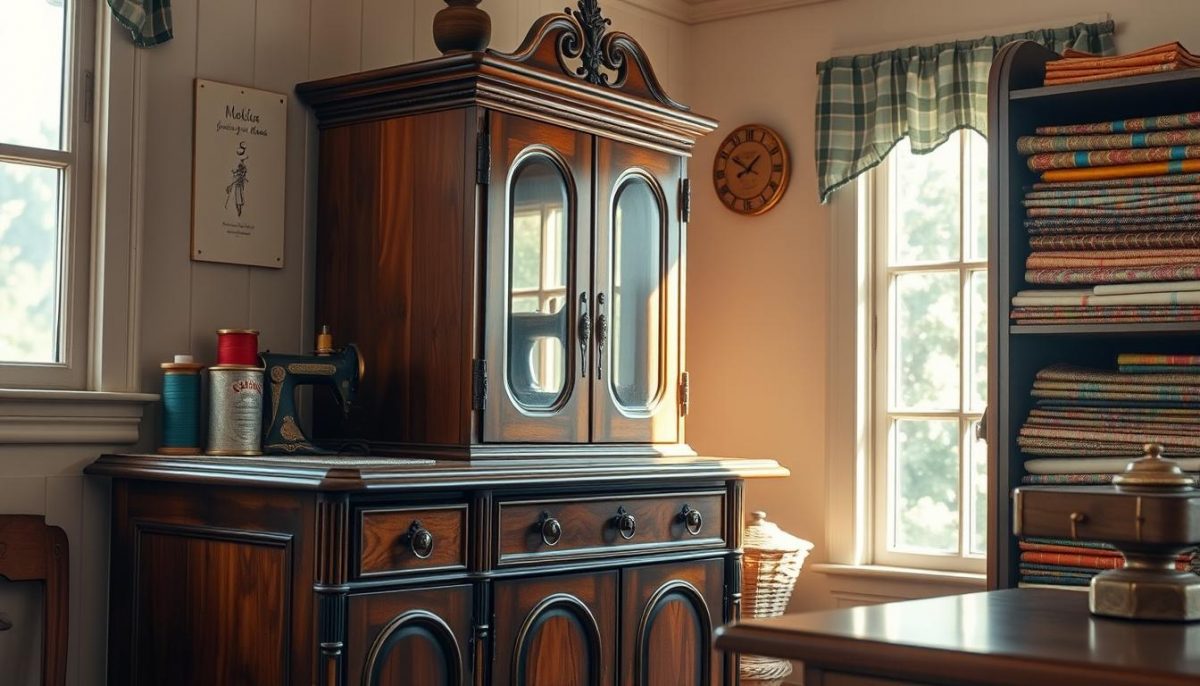
Essential Tools and Supplies for My Makeover
As I embarked on transforming my vintage sewing cabinet, I quickly realized that having the right essential tools for furniture makeover was crucial for a successful project. Gathering high-quality DIY tools and project supplies made the process both enjoyable and rewarding.
Must-Have Tools for a Successful Project
Having the right tools can make all the difference in a makeover project. Here are some must-have tools I used:
- Screwdrivers: Essential for disassembling the cabinet.
- Sanders: Perfect for smoothing surfaces and preparing wood.
- Paintbrushes: High-quality options guaranteed an even finish.
- Good quality primer: Necessary for better paint adherence.
I found these items at my local hardware store, and many of these essential tools for furniture makeover can also be found online for convenience.
Choosing the Right Paint and Finishes
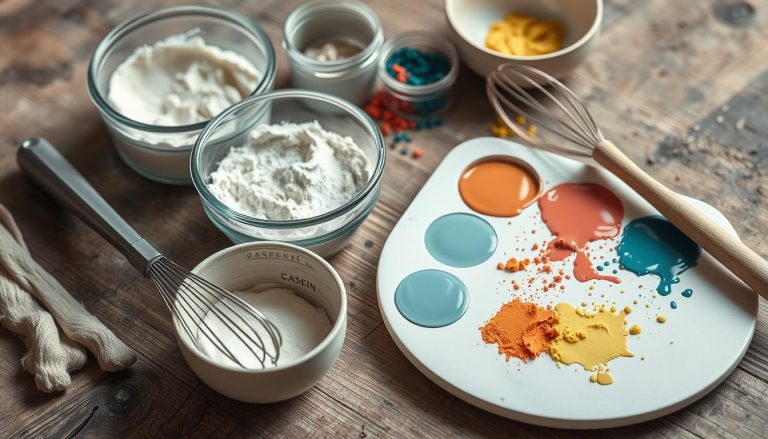
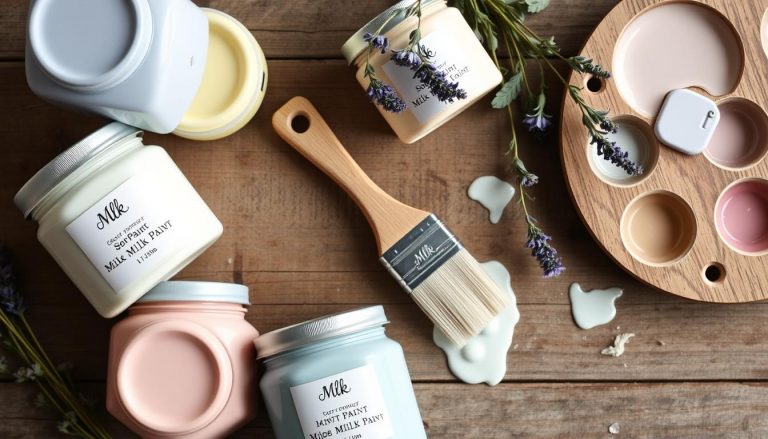
Selecting the right materials is vital for achieving desired results in upcycling projects. I explored various types of paints suitable for furniture:
| Type of Paint | Features |
|---|---|
| Chalk Paint | Matte finish, easy to distress, great for vintage look |
| Acrylic Paint | Durable, fast-drying, available in many colors |
| Spray Paint | Quick application, even coverage, requires proper ventilation |
I selected a chalk paint for its vintage appeal, complemented by a matte finish that provided elegance and durability.
Upcycling: Adding Unique Touches
Upcycling offers the chance to infuse personal creativity into furniture pieces. I incorporated unique touches by:
- Using decorative stencils to add intricate designs.
- Replacing hardware with vintage options for added charm.
- Implementing internal organization solutions for functionality.
These affordable enhancements allowed me to personalize my sewing cabinet while preserving its vintage charm.
Step-by-Step Guide to My Vintage Sewing Cabinet Makeover
Transforming my vintage sewing cabinet required careful preparation and attention to detail. I aimed for a polished finish, and I realized that proper preparation makes a significant difference in achieving a successful painting project. Let me share the steps I followed, from preparing the cabinet for painting to the final touches that made it truly mine.
Preparing the Cabinet for Painting
Preparing furniture for painting is crucial. I began with a thorough cleaning of the cabinet, using a mild detergent to remove any dust and grime. Following this, I checked for any structural damage during the cabinet prep steps, ensuring everything was intact. Sanding came next; I used medium-grit sandpaper to create a smooth surface and to help the paint adhere better. I also looked for areas that needed priming, especially where the paint would struggle to cling due to old finishes. Priming sealed the surface and allowed for even painting, a vital step in my DIY refinishing process.
Painting Techniques That Worked for Me
With the cabinet prepped and primed, it was time to explore various painting techniques. I experimented with brush strokes for finer details and spray painting for larger surfaces. Rolling was my preferred choice for consistent coverage on flat areas. What truly mattered was the number of coats; I found that 2-3 coats provided the depth of color I desired. Each layer allowed the previous coat to dry adequately, preventing drips and achieving a smooth finish. I discovered that patience during this step resulted in an attractive look for my cabinet.
Reassembling and Organizing the Interior Space
After the painting was complete, reassembling everything took some thought. I focused on organizing vintage furniture in a way that enhanced accessibility and aesthetics. I created compartments using adjustable dividers, giving my sewing supplies a designated space. This not only looks pleasing but also makes it easy for me to find what I need. By implementing a labeling system, I ensured that every item was easy to locate while preserving the cabinet’s vintage charm.
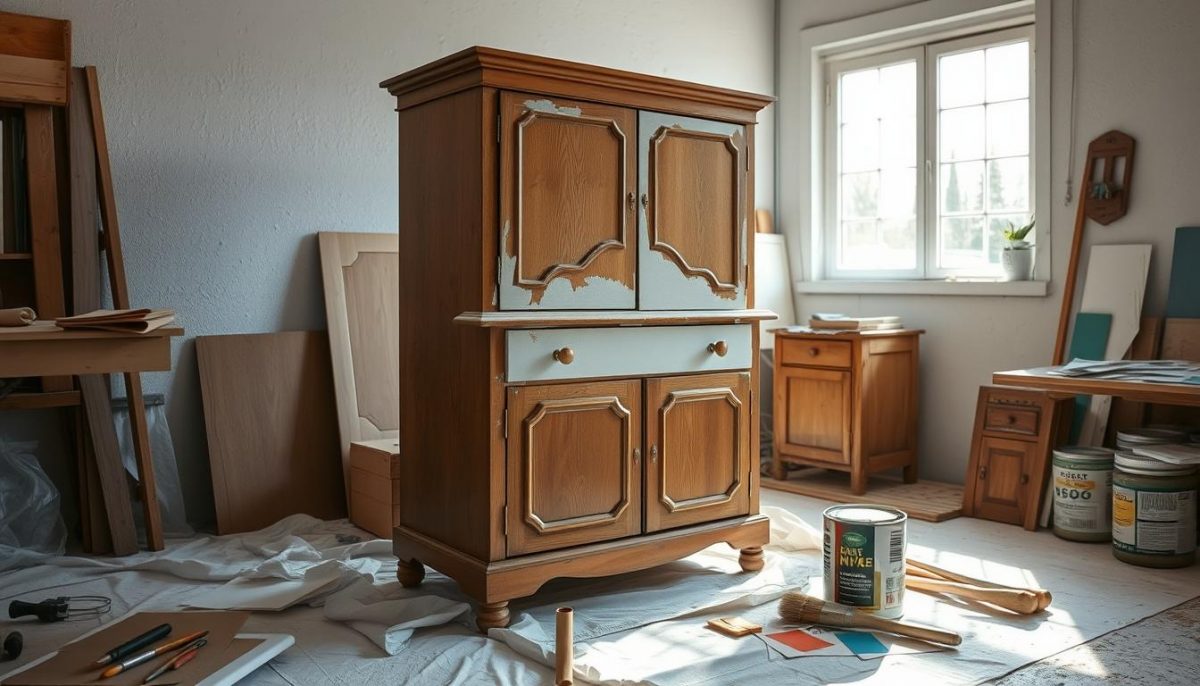
| Step | Details | Tips |
|---|---|---|
| Clean | Remove dust and grime | Use mild detergent and water |
| Inspect | Check for structural damage | Ensure stability before proceeding |
| Sand | Smooth surfaces for better paint adhesion | Use medium-grit sandpaper |
| Prime | Prepare the surface for painting | Choose a primer suitable for your paint type |
| Paint | Apply 2-3 coats based on preference | Allow drying time between coats |
| Reassemble | Put cabinet back together | Organize supplies for easy access |
Results of My Vintage Sewing Cabinet Makeover
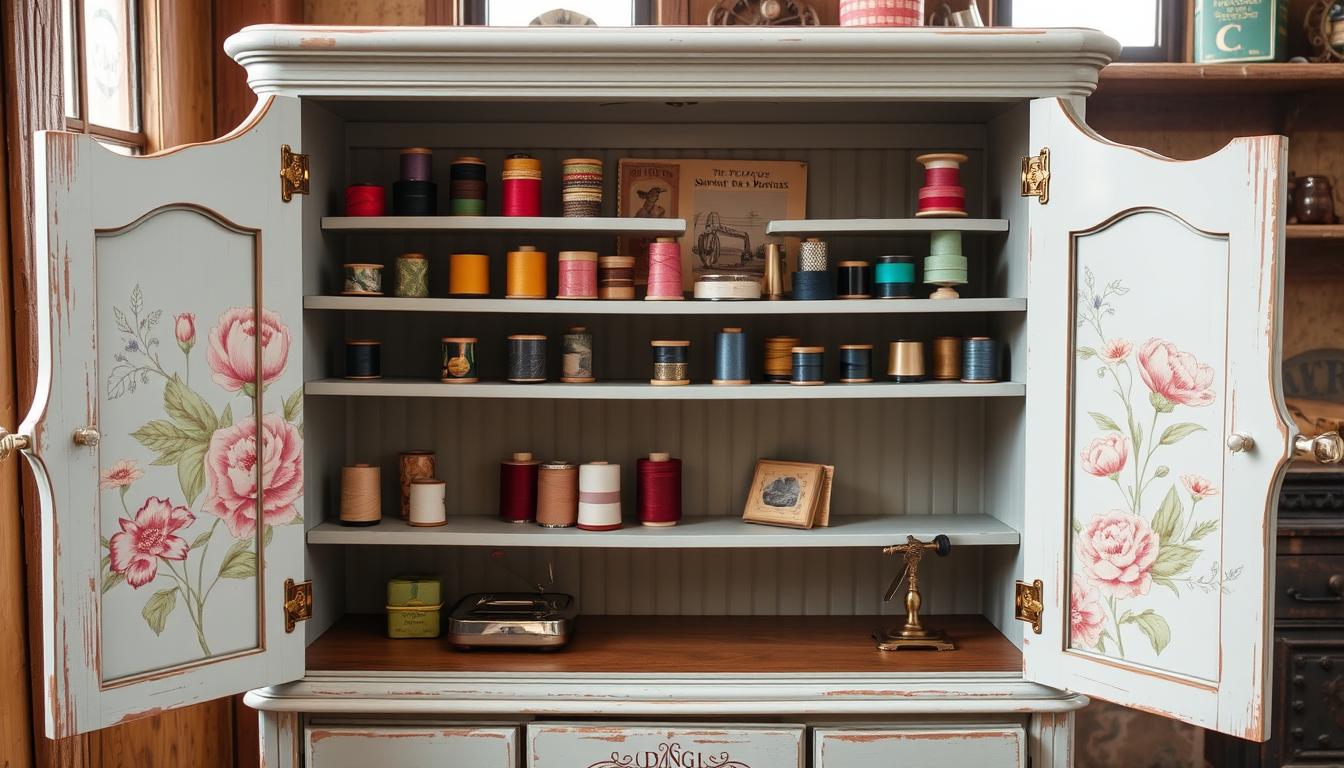
After countless hours of hard work and passionate creativity, I can proudly say that my vintage sewing cabinet transformation has surpassed my expectations. The cabinet, once an overlooked piece in my home, now stands as a vibrant focal point in my sewing area. The striking new colors and finishes breathe life into the overall design, showcasing a beautiful blend of functionality and style. It’s more than just a piece of furniture now; it’s a testament to the power of DIY projects and the joys of crafting.
To illustrate the transformation, I’ve captured before and after photos that perfectly highlight the stunning changes I made. The dull and worn appearance was completely revitalized, showcasing my chosen color palette and the unique touches I added. This before and after furniture restoration not only enhances the aesthetic appeal of my workspace but also inspires me every time I sit down to sew or create.
Reflecting on this project, I’ve rekindled my love for sewing and crafting, reminding me why I fell in love with it in the first place. This journey has been more than just a makeover; it has taught me patience, creativity, and the joy of personalizing spaces. I hope sharing my experience encourages others to take on their own DIY journeys and experience the satisfaction of reviving vintage treasures.

