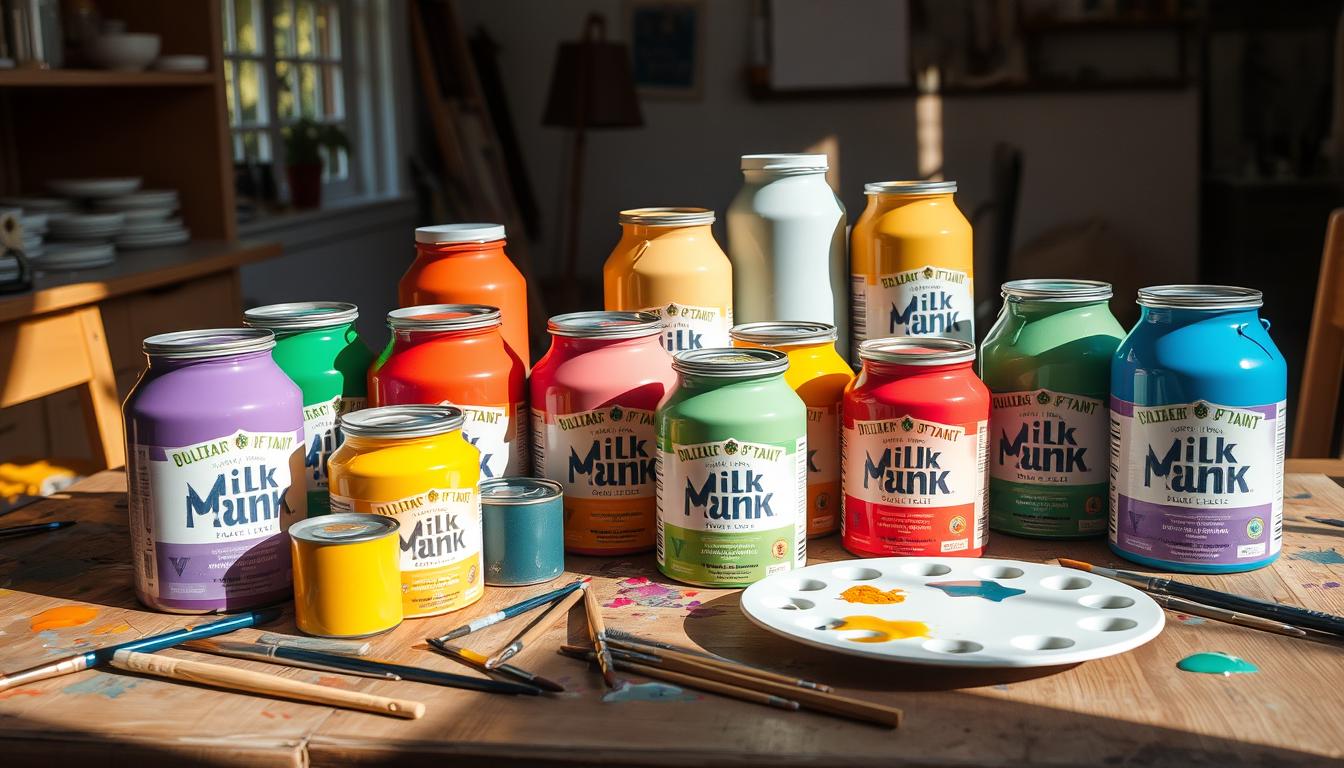
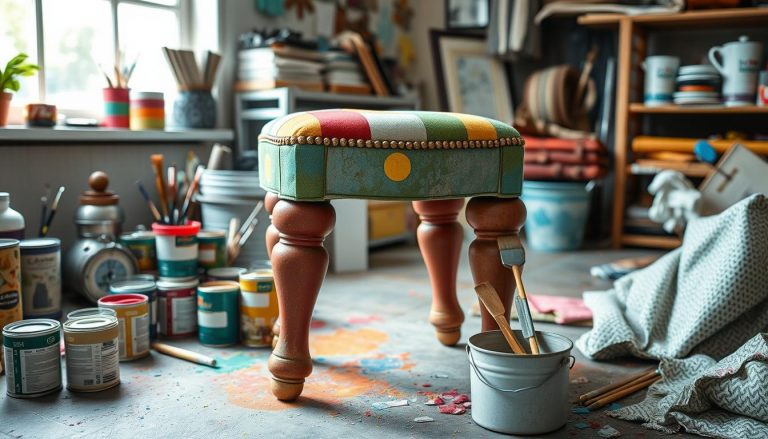
Milk paint has garnered a loyal following in the world of DIY home decor, and it’s no surprise why. Known for its eco-friendly nature, this unique paint offers a beautiful vintage look that can transform furniture and walls alike. Whether I’m breathing new life into an old piece or starting a fresh project, I love the charm and character that milk paint provides. In this article, I will share my top tips for using milk paint effectively, ensuring that your creative endeavors have the perfect rustic finish.
Understanding the Benefits of Milk Paint
When considering paint options for my home, I often lean towards the numerous benefits of milk paint. This type of natural paint stands out due to its unique ingredients and finishes. Understanding these advantages can guide anyone in making a sustainable choice for their interior design projects.
Natural Ingredients and Eco-Friendliness
Milk paint is crafted from natural ingredients such as casein (a milk protein), lime, and natural pigments. These components contribute to its appeal as a non-toxic paint, making milk paint an excellent choice for families, particularly those with young children or pets. Opting for eco-friendly options not only promotes health but also aligns with a more sustainable lifestyle. The milk paint benefits extend beyond safety; using such natural materials reduces environmental impact, setting it apart from synthetic paints that contain harmful chemicals.
Unique Finish and Textures
The aesthetic qualities that milk paint offers are just as compelling. I enjoy experimenting with different milk paint finishes, which can create both a smooth, chalky finish or a more distressed, textured paint appearance. This versatility allows for various design styles, and I find that layering colors leads to captivating vintage aesthetics that really enhance furniture or cabinetry. With each application, the textural differences emerge based on the surface used, presenting unique design possibilities that constantly inspire my creativity.
5 Tips For Using Milk Paint
When it comes to achieving the best results with milk paint, proper preparation is key. I’ve discovered that taking the time for surface preparation makes a significant difference in adhesion and finish. Here are my essential tips.
Prep Your Surface for Optimal Adhesion
Ensuring a clean and smooth surface is crucial for a successful milk paint application. Here are some reliable adhesion tips:
- Start by cleaning the surface to remove any dust, dirt, or grease.
- Sanding the area is necessary, especially if it’s previously painted or has an old finish. This helps the new paint grip better.
- If working with raw wood, consider applying a primer to enhance adhesion.
- For metal surfaces, rust removal and priming are essential steps for a lasting finish.
By following these steps, you create a base that promotes optimal adhesion. This preparation ensures that your milk paint adheres well, minimizing the chance of peeling or chipping later on.
Mixing the Perfect Consistency
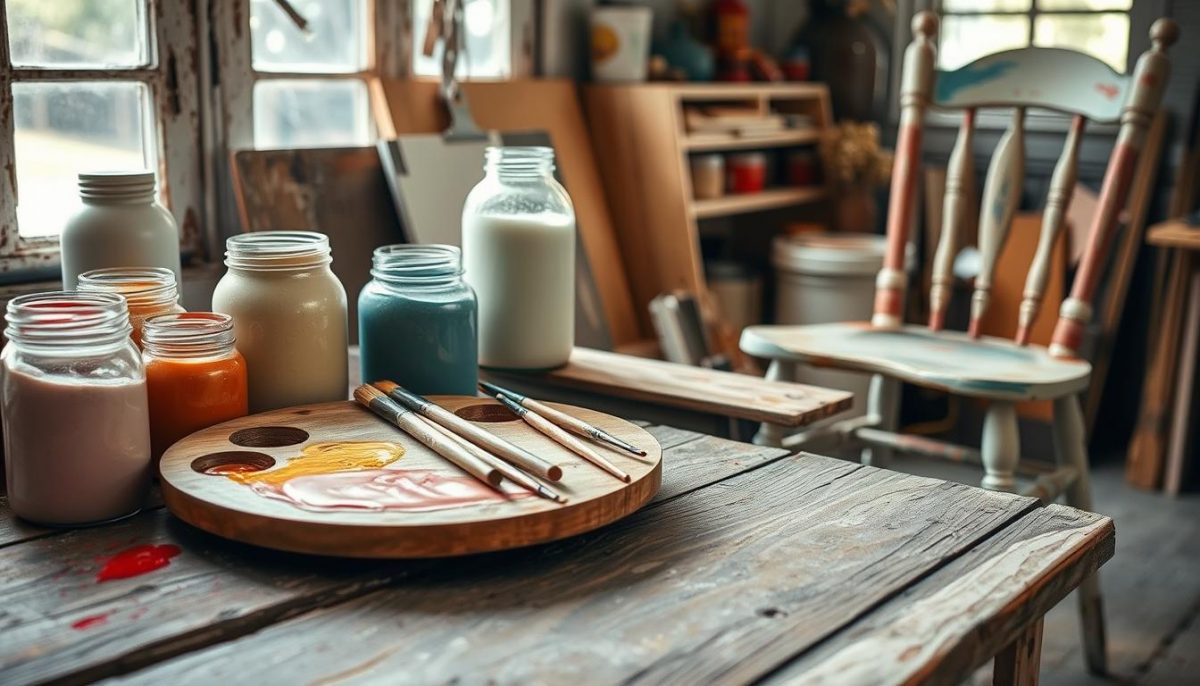
A smooth milk paint application highly depends on achieving the right paint consistency. Here are some milk paint tips for mixing milk paint:
- Start by adding small amounts of water gradually to your powdered milk paint.
- Stir thoroughly to avoid clumps and achieve a smooth texture.
- Check the paint consistency by testing it on a sample surface. You want it to be fluid yet thick enough to avoid drips.
- If the mixture is too thick, add a bit more water; if too thin, incorporate more powder.
Getting the consistency right is essential for an even application and a professional-looking finish. Remember, a well-mixed paint enhances the overall outcome of your project.
Techniques to Enhance Your Milk Paint Application
When working with milk paint, employing effective techniques can transform your projects into stunning pieces with depth and character. Understanding how to use color layering can create a distinct vintage look that elevates any surface. Selecting the right color combinations, applied at the right time, plays a crucial role in achieving beautiful milk paint effects.
Layering Colors for a Vintage Look
To master vintage paint techniques, I recommend starting with a base coat and building layers incrementally. Choose complementary colors that evoke a timeless feel. For instance, pairing soft blues with creamy whites or muted greens can create a lovely rustic charm. When layering, allow each coat to dry partially before adding the next one for an intriguing depth. This method not only enhances the aesthetic but also brings out the unique characteristics of milk paint.
Tools for an Even Application
Utilizing the right milk paint tools is essential for achieving a smooth finish. I highly recommend using a variety of application tools, including traditional paintbrushes and foam rollers, depending on the surface texture. Fine, natural bristle paintbrushes work wonderfully for detailed areas, while rollers can cover flat surfaces quickly. Don’t forget to use sponges for blending layers seamlessly, particularly when working with milk paint effects. Proper tool selection and technique greatly reduce streaks and drips, resulting in a flawless application.

| Application Tool | Best Use Case | Recommended Technique |
|---|---|---|
| Natural Bristle Brush | Detailed work and edges | Use long, smooth strokes |
| Foam Roller | Flat surfaces | Apply with even pressure |
| Sponges | Blending colors | Lightly dab to mix |
Common Mistakes to Avoid When Using Milk Paint
When diving into the world of milk paint, I’ve noticed some common pitfalls that can easily be avoided to achieve that flawless finish. One such mistake is under-preparing surfaces. It’s crucial to ensure the area is clean, dry, and free from any grease or old finishes. Skipping this step often leads to poor adhesion, resulting in frustrating paint chipping down the line. Proper preparation is one of the most vital painting tips I can offer.
Another frequent error I’ve encountered is applying the paint too thickly. Milk paint is unique in its application and can perform better in thin coats. Consequently, I always aim for a smoother texture by layering in multiple, lighter applications rather than one heavy coat. This not only enhances the final appearance but also promotes better drying times and prevents any unsightly drips or runs.
Additionally, it’s essential to be patient and allow adequate drying time between layers. Rushing through this phase can compromise the integrity of my work. If I ever find myself in a situation where I’ve made a mistake, I troubleshoot by sanding lightly once the paint has dried. Learning to identify these milk paint mistakes has significantly improved my overall results and made my projects more enjoyable.

