Creating a whitewash finish is an exciting DIY project that allows you to transform your wood surfaces into beautiful pieces of budget-friendly home decor. I love this technique because it combines rustic charm with the natural beauty of wood grain, giving my furniture and accents a fresh look without spending a fortune. In this guide, I will walk you through the simple steps to achieve a stunning whitewash finish for under ten dollars, sharing tips and insights from my own experiences along the way.
Understanding Whitewash Finishes
Exploring the concept of a whitewash finish reveals its unique characteristics and numerous uses in various projects. Unlike traditional paint, which creates a solid color, whitewash is a mixture of water and pigments that allows the natural texture of the surface to remain visible. This translucent effect not only enhances the aesthetic appeal but also adds depth to wooden surfaces.
What is a Whitewash Finish?
To define what is whitewash, it’s important to note that this finish has been used for centuries, originating from the desire to lighten and protect wooden surfaces. By combining simple ingredients, such as water and slaked lime or chalk, whitewash offers a more eco-friendly alternative to conventional paints. Its breathable properties allow for airflow within the wood, making it a popular choice for projects involving historical restorations or rustic decor.
Benefits of Whitewashing
The advantages of whitewashing extend beyond aesthetics. This technique is cost-effective, requiring only basic materials readily available at home improvement stores. Whitewashing is straightforward to apply, making it accessible even for beginners. An additional perk lies in its environmental benefits, as many whitewash formulations utilize non-toxic ingredients that reduce harmful VOC emissions, ensuring a safer home environment.
Common Uses for Whitewash
Whitewash applications are diverse, catering to various design needs. I often use this technique for refurbishing furniture, giving old pieces a fresh, contemporary look without losing their character. Whitewashed accent walls can brighten up a room and create a soothing atmosphere. Moreover, outdoor structures like fences and barns benefit from whitewashing, as it helps to protect wood against the elements while providing a classic appearance.
How to Create A Whitewash Finish Under Ten Dollars
Creating a stunning whitewash finish is a budget-friendly project that anyone can tackle with the right materials and preparation. I will guide you through the essential DIY whitewash materials needed for this process and the steps for effective surface preparation for whitewash.
Materials You’ll Need
- White latex paint
- Water
- Mixing container
- Brushes (preferably a wide brush)
- Rags or cloths
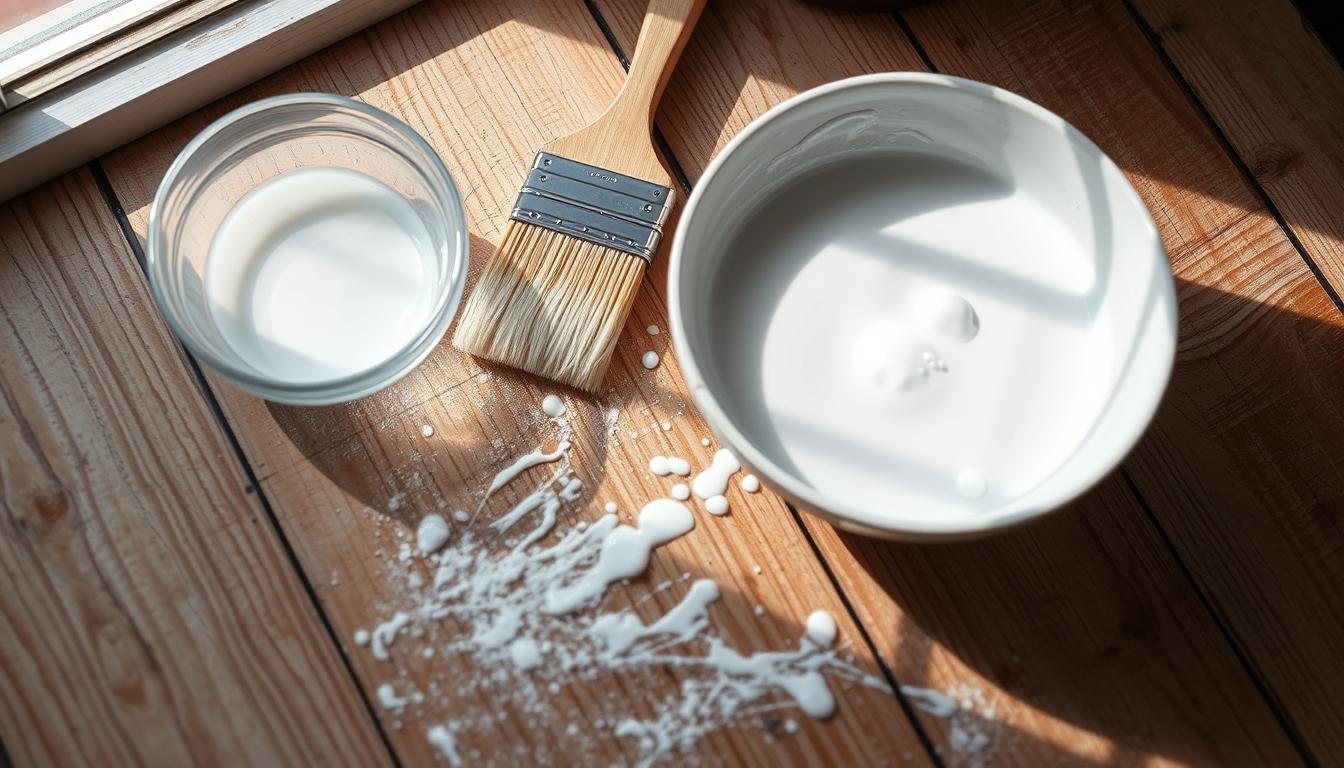
All these items can be found at local home improvement stores and should keep your spending well under the ten-dollar mark. The water will serve to dilute the paint, allowing for a translucent finish that showcases the wood grain beneath.
Steps to Prepare Your Surface
Proper surface preparation for whitewash is crucial to achieving a professional look. Here are the steps I recommend:
- Clean the Surface: Remove any dirt, dust, or grease using a mild cleaner. Make sure the surface is dry before moving on.
- Sanding: Lightly sand the wood to create a smooth surface. This step helps the whitewash adhere better.
- Priming (optional): If the wood is particularly dark or stained, applying a primer can enhance the whitewash effect.
With these materials and steps, I am confident that you will be able to achieve a beautiful whitewash finish that adds character to your space.
Application Techniques for a Flawless Whitewash
Achieving a beautiful whitewash finish involves several effective application techniques. I will discuss the differences between the brush vs. rag method, how to create the right consistency for your whitewash mixture, and the importance of whitewash layering to enhance the overall appearance.
Brush vs. Rag Application
Choosing between the brush vs. rag method can significantly impact the outcome of your whitewash project. Each technique possesses unique advantages:
- Brush Method: Offers precision and control, making it ideal for intricate details.
- Rag Method: Provides a more textured finish and allows for easy blending of colors.
Ultimately, the choice comes down to personal preference and the desired finish. Experimenting with both can lead to discovering which technique you prefer.
Creating the Right Consistency
Getting the consistency of the whitewash mixture just right is crucial. A good rule of thumb is to mix one part paint with one part water for an ideal balance. The mixture should be smooth and not too thick or too watery. It’s wise to test the mixture on a small area before applying it to your entire project.
Layering for Desired Effect
Whitewash layering can transform the look of your project. Applying multiple layers allows for increased depth and customization. I recommend starting with a light coat and gradually adding more layers until you achieve the desired effect. Be sure to let each layer dry thoroughly before applying the next to prevent any unwanted mixing.
| Technique | Pros | Cons |
|---|---|---|
| Brush Method | Precision and control for detailed work | Can leave brush strokes if not careful |
| Rag Method | Creates a textured and blended finish | Less control over detailed areas |
Tips for Maintaining Your Whitewash Finish
Maintaining a whitewash finish is essential for keeping its charm and vibrancy intact. In my experience, gentle cleaning methods are key to preserving the beauty of whitewashed surfaces. I recommend using soft cloths and mild soap when it comes time to clean. Avoid abrasive cleaners, as they can strip away the delicate finish and diminish its appearance over time.
Another important aspect of care for whitewashed surfaces is to be mindful of moisture. Excessive humidity can lead to buildup, which may cause the finish to deteriorate. To prevent this, I suggest ensuring proper ventilation, especially in areas like kitchens and bathrooms where moisture levels tend to rise.
Touching up worn areas is a great way to maintain the overall look of your whitewash. I find that having some leftover whitewashing mixture on hand can make this process easier. With regular maintenance, you can keep your whitewashed furniture or walls looking fresh and revitalized, contributing to the appealing atmosphere of your home.

