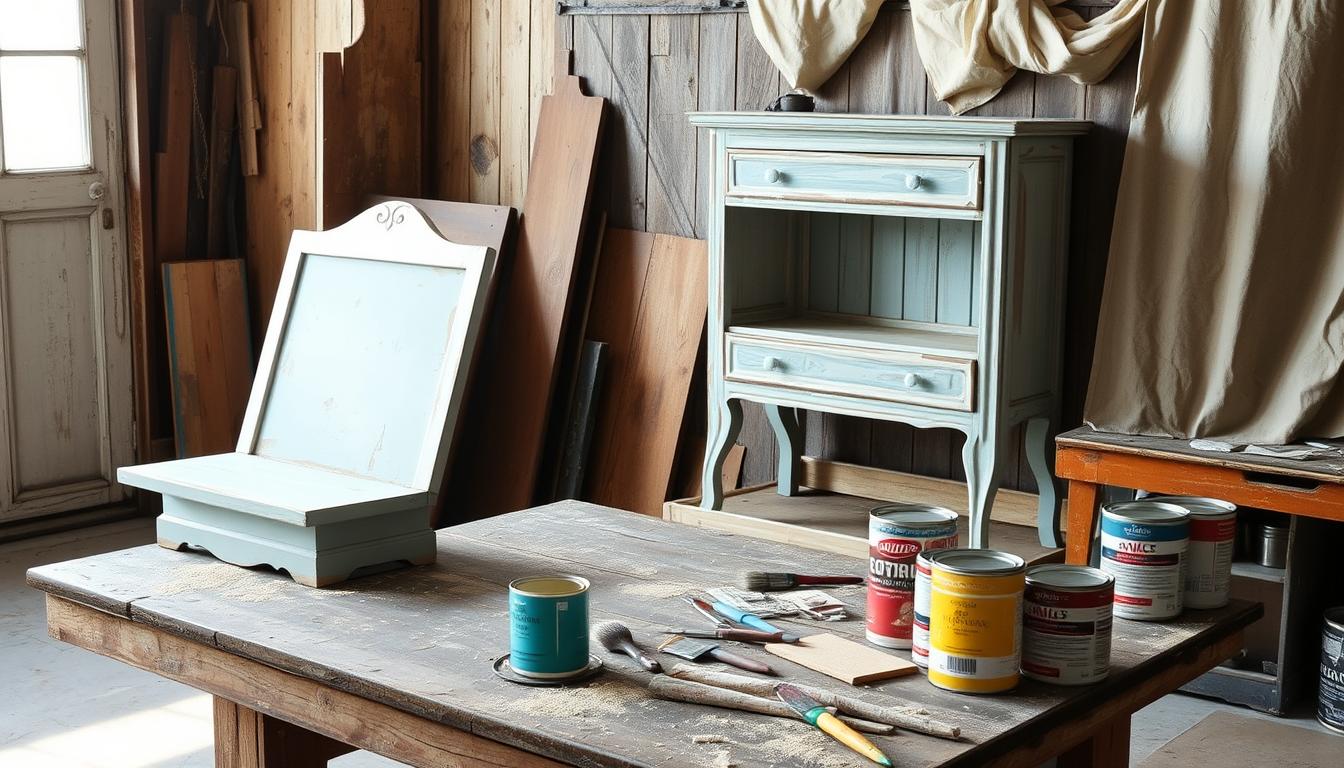
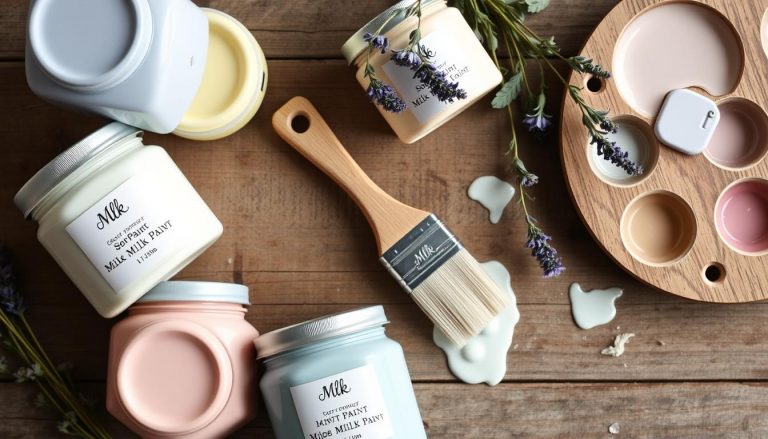
If you’re looking to add a unique charm to your furniture, distressing milk paint can create an incredible aged furniture look that truly elevates any DIY milk paint projects. This technique not only enhances the beauty of your pieces but also provides a personalized touch that reflects your style. In this guide, I’ll share effective milk paint finishing techniques that will help you master the art of distressing and finishing sand milk paint. Get ready to transform your home decor with simple yet impactful methods!
Understanding Milk Paint
As I delve into the world of milk paint, I discover a fascinating realm shaped by its unique composition and historical relevance. This traditional paint boasts a remarkable blend of natural ingredients, transforming it into an eco-friendly paint option that many DIY enthusiasts are drawn to.
What is Milk Paint?
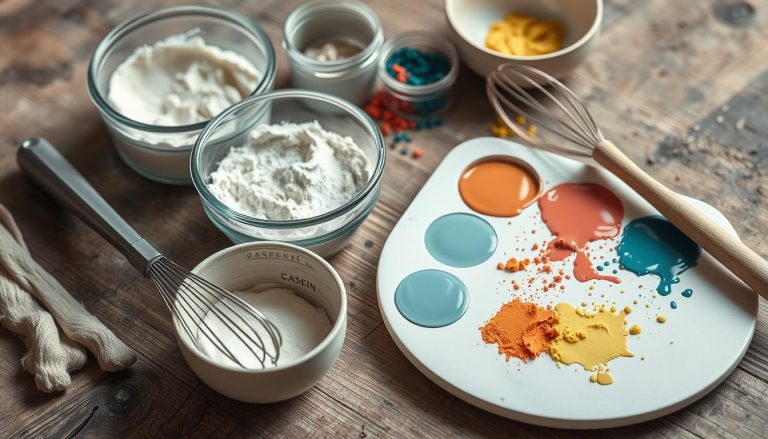
Milk paint definition refers to a paint made primarily from milk protein (casein), lime, and natural pigments. Its water-based formula makes it distinct from modern, synthetic paints, ensuring a safer application for indoor projects. Emphasizing its non-toxic properties, milk paint appeals to those seeking a sustainable painting solution. As someone who appreciates environmentally-friendly materials, I find the allure of using such natural ingredients compelling.
Benefits of Using Milk Paint
Among the numerous advantages of milk paint, its versatility shines through. It adheres effortlessly to various surfaces, including wood, metal, and plaster, allowing for creative projects across different mediums. The historical use of milk paint adds depth to its charm, reflecting a tradition that dates back to ancient times. As I explore its applications, I enjoy how its matte finish can complement both rustic and modern aesthetics.
Another noteworthy benefit lies in its fast-drying properties, granting the ability to complete projects more swiftly. For furniture refinishers like myself, this practicality makes a positive difference in the workflow. Overall, I embrace the benefits of using milk paint for not just its effectiveness but also for its contribution to eco-friendly design.
| Feature | Milk Paint | Modern Paint |
|---|---|---|
| Composition | Natural ingredients | Synthetic chemicals |
| Safety | Non-toxic | Potentially harmful |
| Versatility | Various surfaces | Some limitations |
| Drying Time | Fast-drying | Varies |
| Finish | Matte | Glossy options |
How To Distress And Finish Sand Milk Paint
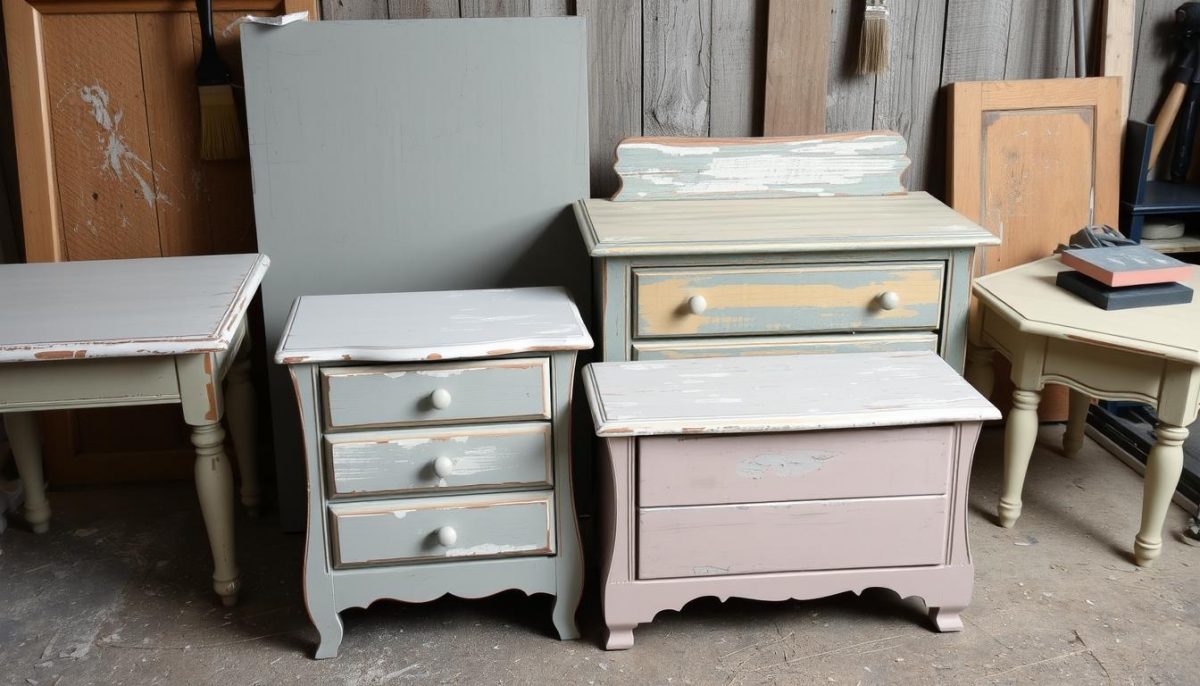
Distressing sand milk paint can elevate your project by adding character and a timeworn finish. Exploring different distressing methods allows for personalization and creativity in achieving an aged look that suits your style. Each technique offers unique characteristics, letting your personality shine through while working with milk paint.
Choosing the Right Distressing Techniques
When it comes to distressing methods, the choice is vast, and each technique produces distinct results. Here are a few techniques to consider:
- Sanding: This approach creates a subtle, worn finish by smoothly removing some of the paint. I prefer using finer sandpaper for this because it gives a more polished texture.
- Scraping: If you desire a bold distressed look, using a scraper can effectively strip away paint layers and reveal the underlying wood. It’s a bit messier but definitely impactful.
- Wet Cloth Technique: Dampen a cloth and gently rub the painted surface to soften and remove paint in areas. This method can produce very soft transitions in the distressing, enhancing the overall aged appearance.
Preparing Your Workspace for a Smooth Finish
A well-organized workspace setup is vital for achieving optimal results with your milk paint project. Here are some milk paint finishing tips to help you prepare:
- Start by laying down drop cloths to protect your flooring.
- Gather all necessary supplies like sandpaper, scrapers, and your paint brush to ensure everything is at hand.
- Ensure proper ventilation in your workspace. This not only enhances your comfort but also helps the paint dry evenly.
- Good lighting is essential as it allows me to easily identify any areas needing more attention during both the painting and distressing processes.
Tools and Materials Needed
Choosing the right tools and materials is vital for a successful milk paint distressing project. Having the essential tools for milk paint distressing can greatly enhance efficiency and the overall outcome of the finish. From brushes and rollers to sandpaper, each item has a specific purpose that contributes to achieving the desired look.
Essential Tools for Distressing Milk Paint
I recommend gathering the following tools to ensure a smooth process:
- Natural Bristle Brushes: Ideal for applying milk paint, these brushes ensure an even coating.
- Foam Rollers: Perfect for larger surfaces, they provide a consistent and professional finish.
- Sanding Blocks: Useful for distressing edges and hard-to-reach areas.
- DIY Tools: Basic tools like spatulas and scrapers can assist in achieving unique textures.
Recommended Types of Sandpaper
When it comes to selecting sandpaper, the grit plays a significant role in the distressing process. Understanding sandpaper grits will help achieve that perfect finish. Here are a few recommendations:
| Grit Type | Purpose |
|---|---|
| Coarse (60-80 grit) | Use for initial distressing and removing excess paint. |
| Medium (120-150 grit) | Great for smoothing and shaping edges after distressing. |
| Fine (220 grit) | Ideal for finishing touches, providing a smooth surface. |
Utilizing these milk paint sanding tips, including effective techniques for transitioning between grits, can streamline the process. Pay attention to which grit to use at different stages of your project for optimum results.
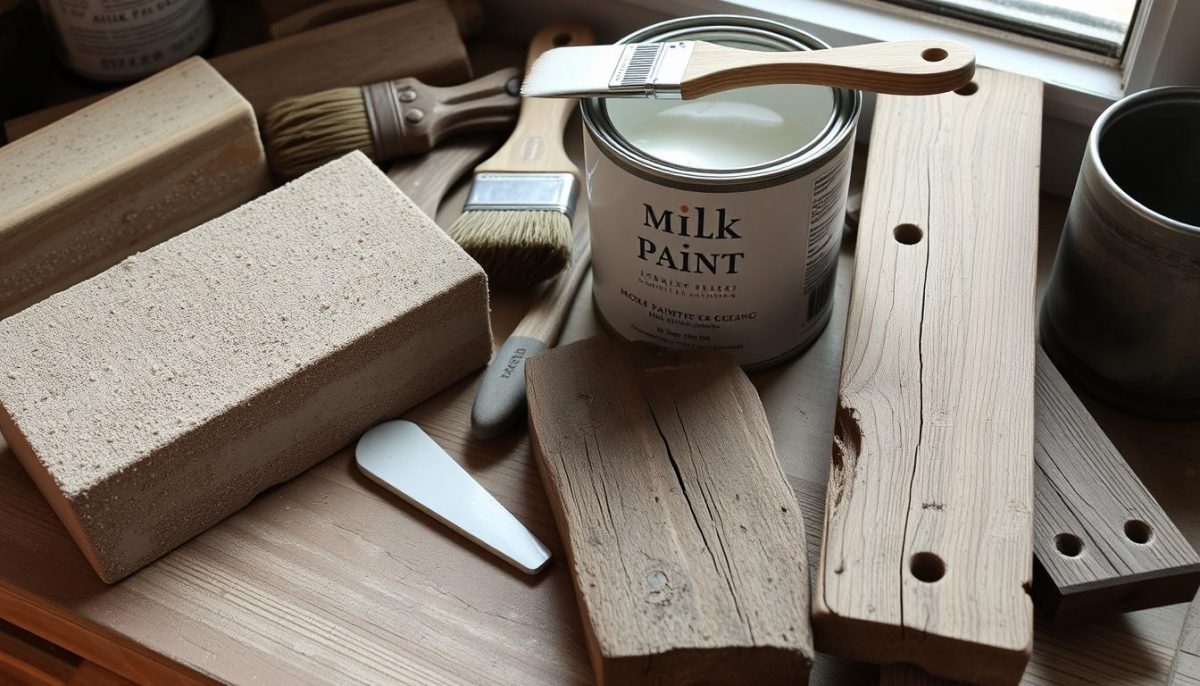
Step-by-Step Guide to Distressing and Finishing
In this step-by-step distressing guide, I’ll walk you through the process of distressing and finishing milk paint, ensuring your project looks beautifully worn and authentic. Start by preparing your surface well; cleaning and sanding it lightly helps the paint adhere smoothly. Once that’s set, apply your base coat of milk paint, allowing it to dry completely. I recommend using a brush for a more textured look, but a roller can provide an even finish.
Choosing the right distressing techniques is crucial for achieving the desired effect. I prefer using sandpaper to gently wear away paint in areas that would naturally experience wear and tear. Focus on the edges and corners for a more aged appearance. Remember to be patient and adjust your technique based on the look you want, whether it’s a light distressing or a more pronounced finish.
Finally, sealing your project is an essential step in finishing milk paint. I like to use a natural oil or a water-based topcoat for extra durability. This protects the paint and enhances its vibrant color, allowing your hard work to shine through for years to come. Don’t forget to troubleshoot any issues you encounter, such as uneven application or unwanted distressing—it’s all part of the DIY project steps and learning experience!

