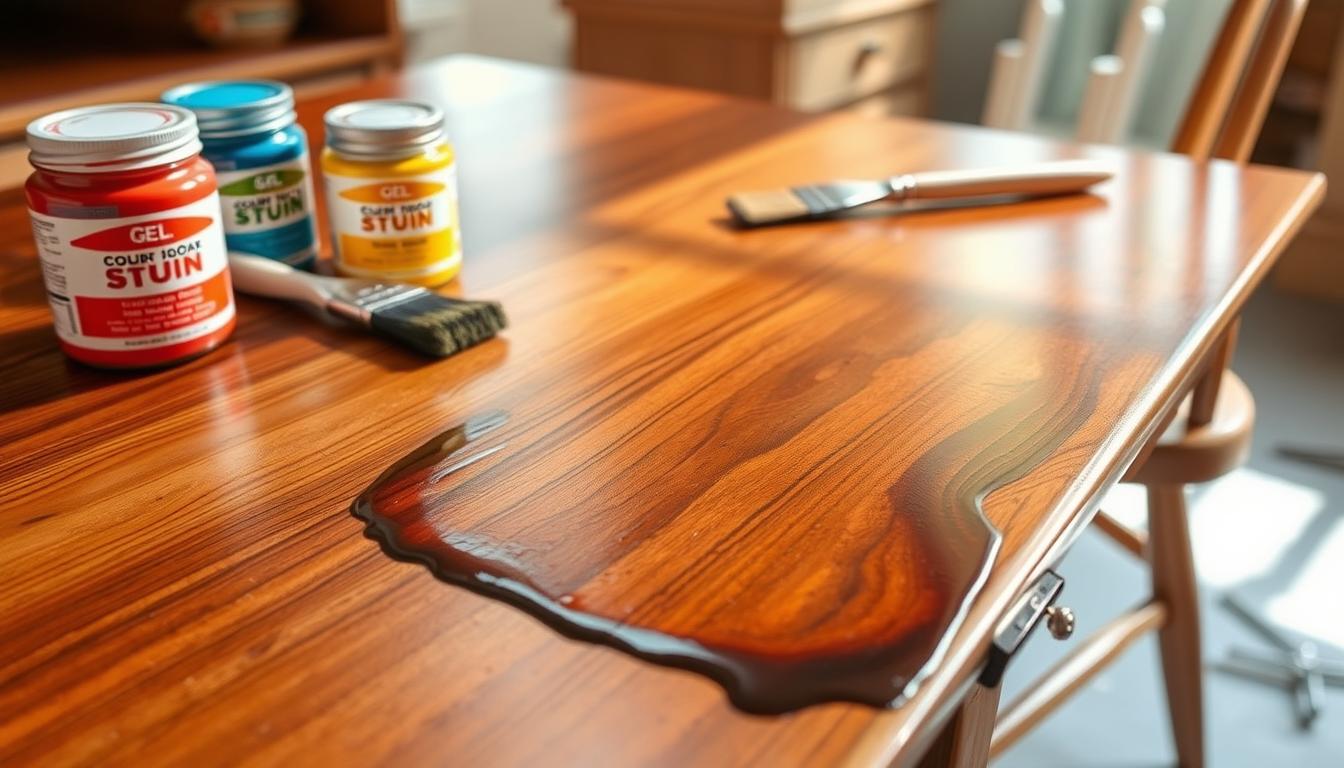
Embarking on a desk and chair makeover using gel stain has transformed my approach to furniture refinishing. The satisfaction of achieving a stunning finish without hiring a specialist is truly rewarding. In this guide, I will share my experience with DIY gel stain application, walking you through each step to ensure you can recreate the same success. Prepare to breathe new life into your furniture as we delve into the world of gel stain for a beautiful and professional-looking finish!
Understanding Gel Stain and Its Benefits
Gel stain has become a popular choice for many DIY enthusiasts and professionals alike, thanks to its unique properties. Unlike traditional wood staining options, gel stain boasts a thick consistency that allows for easy application even on vertical surfaces. This feature minimizes the risk of drips, making it an excellent option for anyone new to furniture refinishing.
What is Gel Stain?
Gel stain is a specially formulated wood finish designed to provide rich color and enhance wood grain. Its gel-like texture enables smooth application while preventing uneven color absorption, which can often occur with liquid stains. With a vast array of colors available, gel stain offers flexibility for various wood staining projects, allowing for a customized look that aligns perfectly with your design vision.
Why Choose Gel Stain for Furniture Makeovers?
Choosing gel stain for furniture makeovers comes with numerous benefits. Firstly, gel stain characteristics contribute to its user-friendliness, especially for those tackling their first furniture refinishing project. The low odor makes it suitable for indoor use, allowing me to work without worrying about lingering fumes. Quick drying times further add to its appeal, enabling a faster turnaround for my home improvement efforts. By selecting gel stain, I can achieve stunning results while simplifying the overall process.
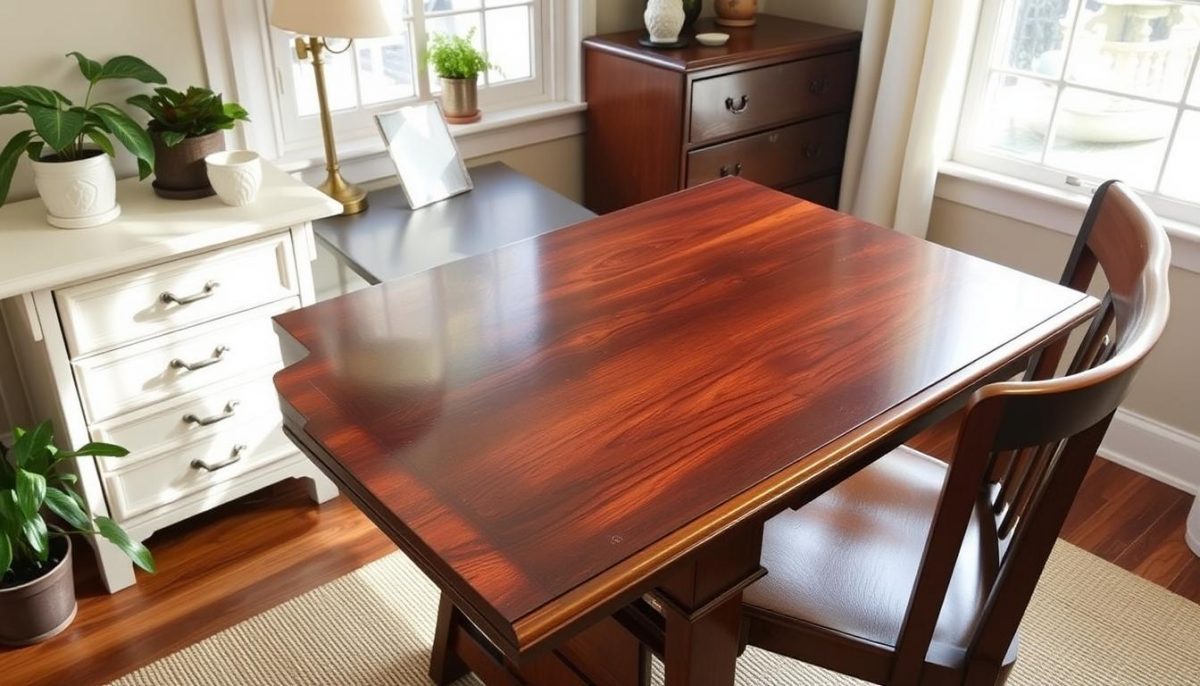
How To Use Gel Stain- Desk and Chair Makeover
Embarking on a DIY project requires careful planning and preparation. The success of my desk and chair makeover hinged on gathering the right gel stain supplies and ensuring my furniture was primed for the transformation. In this section, I’ll share the essential items I collected and the steps I took for effective furniture preparation.
Gathering the Necessary Supplies
Before diving into the project, I made sure to collect some important items. Here’s a list of my go-to gel stain supplies:
- Gel stain in the desired color
- Pre-stain conditioner to enhance adhesion
- Brushes or rags for smooth application
- Painter’s tape to protect adjacent surfaces
- Protective gear including gloves and a mask
Each of these components plays a crucial role in achieving an inviting finish. The gel stain provides rich color, while the pre-stain conditioner ensures an even application. Having the right paint supplies is essential to avoid any mishaps, making the overall process smoother.
Preparing Your Desk and Chair for Staining
Proper furniture preparation is key before the actual staining begins. Here are the steps I followed:
- Cleaning: I started by thoroughly cleaning the surfaces to remove dust and grime.
- Sanding: Next, I sanded the furniture to strip away old finishes and ensure a smooth surface.
- Dust Removal: After sanding, I wiped down the surfaces again to eliminate any dust particles.
- Taping: Finally, I used painter’s tape to protect areas I didn’t want to stain.
These steps guaranteed a flawless application of gel stain, allowing for a stunning final appearance. With everything in place, I felt ready to enhance my desk and chair into beautiful statement pieces.
Step-by-Step Guide to Applying Gel Stain
The process of applying gel stain can transform your furniture into a stunning piece. I found that taking a methodical approach yields the best results. This section covers applying a pre-stain conditioner, effective gel stain application techniques, and ensuring proper drying time.
Applying Pre-Stain Conditioner
Before diving into the gel stain application techniques, I recommend using a pre-stain conditioner. This preparatory step promotes even absorption of the stain, preventing blotchiness and enhancing the overall appearance. By applying this conditioner, the wood prepares itself for a smooth and uniform finish.
Techniques for Applying Gel Stain
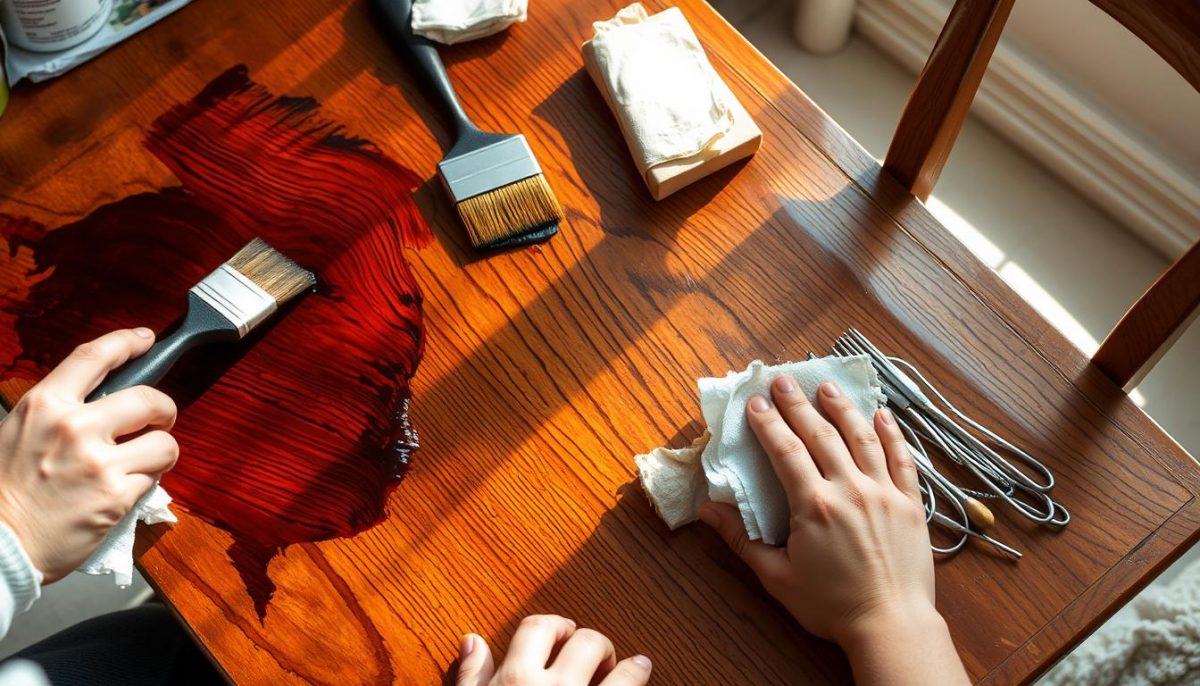
Once the pre-stain conditioner has dried, it’s time to explore various gel stain application techniques. I found two effective methods: wiping and brushing. Wiping involves using a clean cloth to apply the gel stain, allowing for a more controlled finish. Brushing, on the other hand, enables me to cover larger areas quickly. Depending on the desired finish, I switch techniques to achieve the perfect look.
Allowing for Proper Drying Time
The furniture makeover process isn’t complete without considering drying time. After applying the gel stain, I allow sufficient drying time between coats. This crucial step ensures the layers adhere properly, preventing issues like peeling or lifting. To gauge when it’s ready for the next coat, I gently touch the stained area to see if it feels tacky or dry. Following these tips leads to a beautifully finished product.
| Aspect | Wiping Technique | Brushing Technique |
|---|---|---|
| Control | High – Allows for details | Medium – Good for flat surfaces |
| Speed | Slightly slower | Fast – Covers large areas |
| Finish | Smooth and even | Can have texture, depending on the brush |
| Recommended For | Intricate designs or small areas | Flat surfaces or larger pieces |
Finishing Touches for a Professional Look
As I wrapped up my desk and chair makeover, I realized the importance of the final touches. A protective topcoat is essential for gel stain finishing, as it not only adds an elegant sheen but also safeguards the stained surface from daily wear and tear. I opted for an oil-based polyurethane, known for its durability, ensuring my furniture would stand the test of time. The application process was straightforward; I used a high-quality brush to apply even coats, allowing adequate drying time between each layer.
After letting the topcoat dry completely, I took a moment to admire my work. The transformation was stunning! To maintain the beauty of my newly refinished furniture, I quickly learned the best cleaning practices. A gentle wipe with a damp cloth and mild soap is all it takes to keep the surface looking fresh without damaging the gel stain or the protective layer.
With these simple yet essential steps, I achieved a professional look that not only elevates my workspace but also reflects my effort and creativity. The final touches made a significant difference in this DIY project, resulting in furniture that I am proud to showcase and use every day. Embracing this journey of furniture refinishing has truly transformed my environment, making it one that inspires productivity and joy.

