If you’ve ever admired the timeless look of vintage furniture, you’re in the right place. I love exploring how a DIY aged finish can transform ordinary items into stunning pieces of art. With Waverly Chalk Style Paint, achieving that charming rustic aesthetic has never been easier. This versatile paint is perfect for my vintage-inspired projects, offering both style and accessibility, making it a favorite for both beginners and seasoned crafters like me. From chic decor to functional furniture, I’ll guide you through chalk paint techniques that will help you create beautiful, aged finishes that add character and warmth to any space.
Understanding Waverly Chalk Style Paint
Waverly Chalk Style Paint is a popular choice among DIY enthusiasts due to its versatility and user-friendly nature. This paint is designed to provide an effortless application with a beautiful matte finish, making it ideal for furniture and home decor projects.
What is Waverly Chalk Style Paint?
This chalk paint is uniquely formulated to adhere to various surfaces without extensive priming or preparation. Its thick consistency allows for excellent coverage, reducing the number of coats needed. The result is a smooth, professional-looking finish that enhances the beauty of any item. Waverly Chalk Style Paint is available in a wide range of colors, providing countless options for personalization.
Benefits of Using Waverly Chalk Style Paint
- Low odor makes it suitable for indoor use.
- Fast drying times allow for quicker project completion.
- Easy application that requires minimal technique.
- Excellent adhesion to surfaces like wood, metal, and ceramics.
- Chalk paint benefits include easy distressing for a vintage look.
Color Options and Finishes
Waverly Chalk Style Paint offers an extensive palette, ranging from soft pastels to vibrant shades. Choosing the right color can transform a piece into a stunning focal point. The finishes available include matte, satin, and distressed, allowing for a variety of techniques in achieving your desired aesthetic.
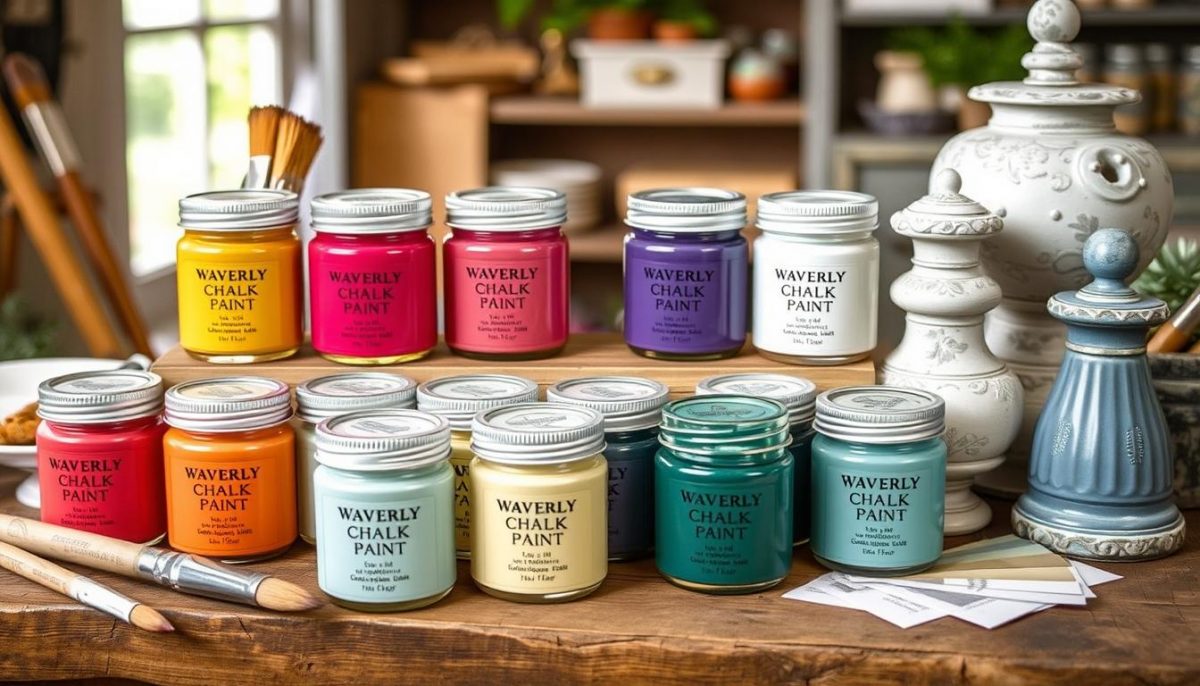
| Color Options | Finish Type | Ideal Projects |
|---|---|---|
| Pastel Blue | Matte | Nursery Furniture |
| Charcoal Gray | Satin | Modern Home Decor |
| Rustic Red | Distressed | Vintage Style Projects |
| Soft White | Matte | Classic Furniture |
| Deep Green | Satin | Garden Accents |
DIY Aged Finish Using Waverly Chalk Style Paint
Creating a DIY aged finish is a rewarding project that can breathe new life into old furniture or decor items. To achieve a stunning outcome, starting with the right base color selection is essential. The choice of color can greatly influence the overall aesthetic of your project. Lighter colors tend to highlight the aged effect, while darker shades provide depth and contrast. Let’s explore how to make this choice effectively.
Choosing Your Base Color
Base color selection plays a significant role in developing the desired aged finish. Here are some factors to consider:
- For a rustic appearance, soft whites or muted pastels work beautifully. They showcase the aging techniques more prominently.
- Darker base colors, like navy or deep gray, add significant contrast to any distressing, making imperfections appear more pronounced.
- Experimenting with two-tone combinations can create an intriguing layered look that adds complexity to your DIY aged finish.
Techniques for Achieving the Aged Look
With your chosen base color, it’s time to delve into various aged finish techniques. These methods will help you craft your personalized aesthetic:
- Dry Brushing: Lightly dip a brush into the paint and remove most of it before applying. This technique enhances texture and gives a worn effect.
- Distressing: Use sandpaper or a wet cloth to expose layers beneath your base coat, revealing a beautifully weathered appearance.
- Layering Colors: Apply multiple paint layers with different hues. This approach allows the undercolors to peek through, creating depth and interest.
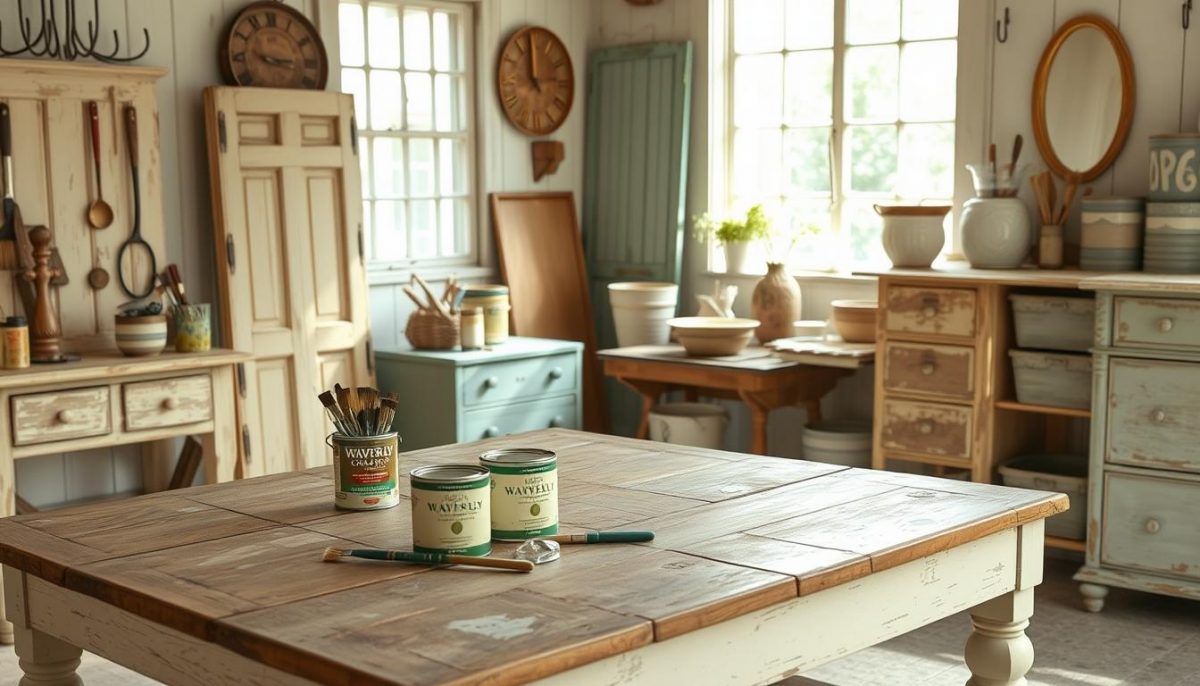
By implementing these methods, I found that the aged finish transforms furniture and decor in remarkable ways. Embrace the creative process with these aged finish techniques, and enjoy crafting a timeless look that reflects your personal style.
Tools and Materials Needed for Your Aged Finish
Before diving into creating an aged finish with Waverly Chalk Style Paint, it’s vital to gather all necessary tools and materials. This preparation ensures a smooth DIY experience and helps achieve the desired results. Below, I have compiled the essential tools for application and the materials needed for the project.
Essential Tools for Application
- Paintbrushes: A variety of sizes will provide versatility for different surfaces.
- Sponges: These are perfect for distressing and creating a textured appearance.
- Sandpaper: Use fine grit for smoothing out edges and achieving a worn look.
- Paint trays: Helpful for managing your Waverly Chalk Style Paint with ease.
- Rags: Useful for wiping away excess paint during the distressing process.
Materials Required for the Project
Gathering quality aged finish materials allows me to create a long-lasting and attractive look. Here’s what I recommend:
- Waverly Chalk Style Paint: Choose your base and top colors according to your design.
- Sealers: Opt for a clear topcoat to protect the finish once complete.
- Optional additives: Consider incorporating wax or glaze for various effects.
| Tool/Material | Purpose |
|---|---|
| Paintbrushes | Application of paint |
| Sponges | Distressing surfaces |
| Sandpaper | Smoothing edges |
| Sealers | Protecting the final look |
| Waverly Chalk Style Paint | Creating the aged finish |
Step-by-Step Guide to Achieving the Perfect Aged Finish
To create the perfect aged finish using Waverly Chalk Style Paint, I recommend starting with a clean and properly prepared surface. This step is crucial for ensuring that the paint adheres well and that the final look turns out as desired. First, I wipe down the surface to remove any dust or grease, and if necessary, I lightly sand it to create a smooth base. Following this preparation, I choose a base color that suits my aesthetic, usually a lighter hue that will complement the darker layers applied later in the chalk paint aging process.
Next, it’s time to dive into the application of the chalk paint. I typically apply two coats of my chosen base color, allowing ample drying time between each layer. This step-by-step guide also includes using a brush for more control on edges and a foam roller for larger areas. Once the base layers are completely dry, I begin the fun part—the aging techniques! Using a combination of dry brushing with a darker color and strategic distressing with sandpaper, I create a beautifully worn look that mimics vintage finishes.
Finally, to finish off my project, I seal everything with a clear protective topcoat. This is an essential step that not only enhances the durability of the finish but also adds depth to the aged appearance. As someone who loves transforming ordinary pieces into stunning creations, this aged finish tutorial offers an enriching experience. I find that this approach not only adds character to my projects but also showcases my personal creativity in every piece.

