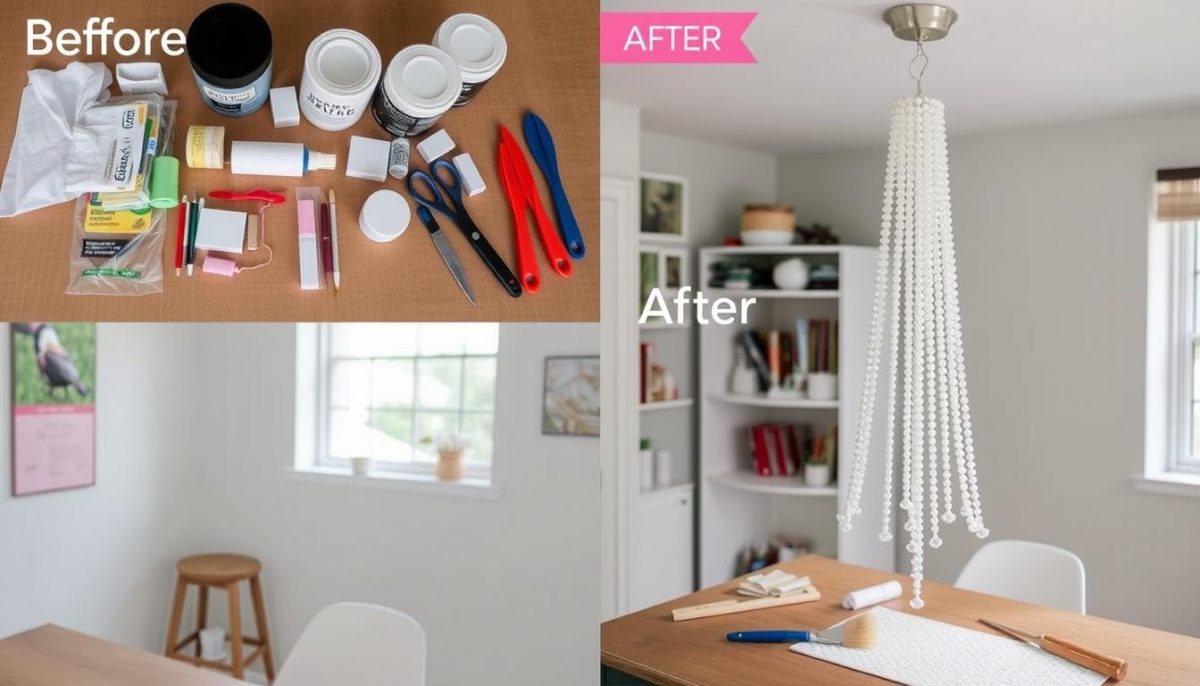
Transforming my office space on a budget led me to embark on an exciting DIY chandelier makeover that cost just $5. The vision I had for my workspace was clear: I wanted a touch of elegance and personality that didn’t break the bank. The chandelier became the perfect centerpiece, proving that affordable home decor can dramatically enhance an environment. I believe everyone deserves an inspiring workspace, and with a small investment, you can create a space that resonates with your personal style.
Transforming My Office Space on a Budget
Creating an inviting workspace that reflects my style has always been a goal of mine. I wanted to add a statement piece without breaking the bank. The choice of a chandelier came to mind as it can significantly enhance the aesthetic of any room, bringing elegance and a touch of personality. With the benefits of a chandelier in mind, I felt that it could spark creativity and productivity in my office.
Why I Chose a Chandelier for My Office
Chandeliers come in various styles, from vintage to modern, allowing me to choose one that perfectly suits my taste. Their ability to act as a focal point makes them ideal for transforming my workspace into something special. The benefits of a chandelier extend beyond aesthetics. Soft lighting promotes a calming atmosphere, making long hours spent working more enjoyable.
Setting a Budget of Just $5
To keep this transformation cost-effective, I set my budget at just $5. Determined to find budget-friendly decor options, I scoured thrift stores and clearance sections. These low-cost home improvements not only allow for creativity but also provide a satisfying challenge of finding unique items. It’s essential to stick to a budget when undertaking projects like this, ensuring that I gain maximum value from minimal spending.
DIY Supplies You’ll Need for Your $5 Office Chandelier Makeover
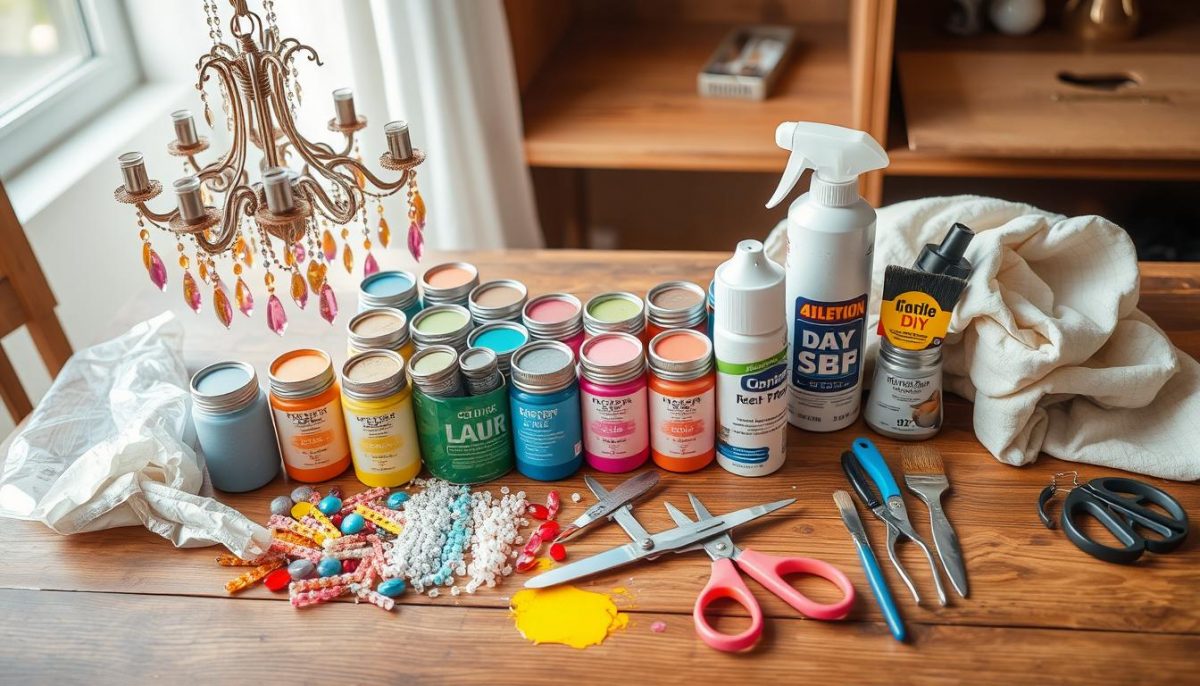
Embarking on a chandelier makeover requires some thoughtful planning regarding DIY supplies. Finding affordable solutions is not only budget-friendly but also adds a personal touch to your project. I explored various local thrift stores, dollar stores, and online marketplaces to gather my crafting materials. Here’s a breakdown of the essential supplies and tools that I used for my $5 makeover.
Finding Affordable Solutions
Many DIY supplies for chandelier makeovers can be found without breaking the bank. I recommend checking out these sources:
- Local thrift stores often have a variety of second-hand chandeliers that can be rejuvenated with a little effort.
- Dollar stores carry basic crafting materials like paint, brushes, and decorative accents.
- Online marketplaces can offer a wide selection of affordable DIY tools and supplies.
Tools Required for the Makeover
Having the right tools is crucial for a successful chandelier transformation. Below is a list of basic tools and materials I found indispensable during my project:
| Tool/Material | Purpose |
|---|---|
| Spray Paint | To give the chandelier a fresh color. |
| Paint Brushes | For detail work on small areas. |
| Drop Cloth | To protect surfaces from paint spills. |
| Safety Goggles | To ensure safety while painting. |

$5 Office Chandelier Makeover: Step-by-Step Guide
As I embarked on my chandelier makeover journey, I discovered that following clear steps truly simplifies the process. Whether you’re a novice or have some experience, these chandelier makeover steps will guide you through. Let’s dive into preparing the chandelier, achieving that stunning finish, and ensuring safe installation.
Preparing the Chandelier for Transformation
Before I start any DIY chandelier techniques, I make sure to clean the fixture thoroughly. Dust and grime can interfere with the new paint or embellishments. Here’s how I do it:
- First, remove the chandelier from its mounting. Make note of how it was installed to help later.
- Next, wipe down the surface with a damp cloth to remove dust.
- If necessary, use a gentle cleaner for tough spots. Let it dry completely before proceeding.
- Finally, apply a primer suitable for the chandelier material to help paint adhere better.
Techniques for a Stunning Finish
With the chandelier prepped, I explore various DIY chandelier techniques to refresh its appearance. Here’s a simple process I follow:
- Choose a color that complements your office decor. Spray paint works well for an even finish.
- Apply the paint in light coats, allowing each coat to dry before applying the next. This prevents drips and ensures smooth coverage.
- For added flair, consider using embellishments like beads or crystals. Secure them with hot glue where desired.
Tips for Safe Installation
After bringing my chandelier to life, safety becomes a priority during installation. Here are some safe installation tips I’ve learned:
- Always turn off the power supply at the circuit breaker before starting any installation.
- Use a sturdy ladder to reach the chandelier safely.
- Follow the original mounting instructions closely to ensure proper support.
- Double-check all connections for security once installed.

Bringing Your Vision to Life
Integrating the newly transformed chandelier into my office has been nothing short of exhilarating. This stylish focal point has completely elevated my decorating workspace, creating an atmosphere that inspires creativity and productivity. The soft glow of the chandelier casts a warm light that makes the room feel inviting, allowing me to enjoy my workspace even more.
Personalizing my office decor was essential to me, and the chandelier sparked a domino effect for additional decor elements. I found myself seeking out decorative items that complemented its design, resulting in a cohesive look that resonates with my style. From wall art to desk accessories, this revitalized space now reflects my personality and serves as a constant source of motivation.
I encourage anyone looking to explore creative workspace ideas to dive into their own DIY projects. The experience of transforming my office on a budget has taught me that with a little creativity and determination, it’s possible to create a space that feels uniquely yours. So, embrace your vision and let your workspace become an expression of who you are!


