Welcome to the first part of my Milk Paint Series, where I will guide you on how to mix milk paint for your DIY projects. Milk paint is a fantastic eco-friendly option for those looking to add a personal touch to their furniture refinishing and crafts. In this section, I’ll explore the delightful process of creating custom hues with milk paint. By understanding the mixing techniques, I aim to empower you to achieve any desired shade and finish. So let’s dive in and discover the world of DIY milk paint together!
Understanding Milk Paint Basics
As I delve into the world of eco-friendly paint, I find it essential to understand the foundation of milk paint. Its unique characteristics and appealing history make it a popular choice for many artisans and DIY enthusiasts.
What is Milk Paint?
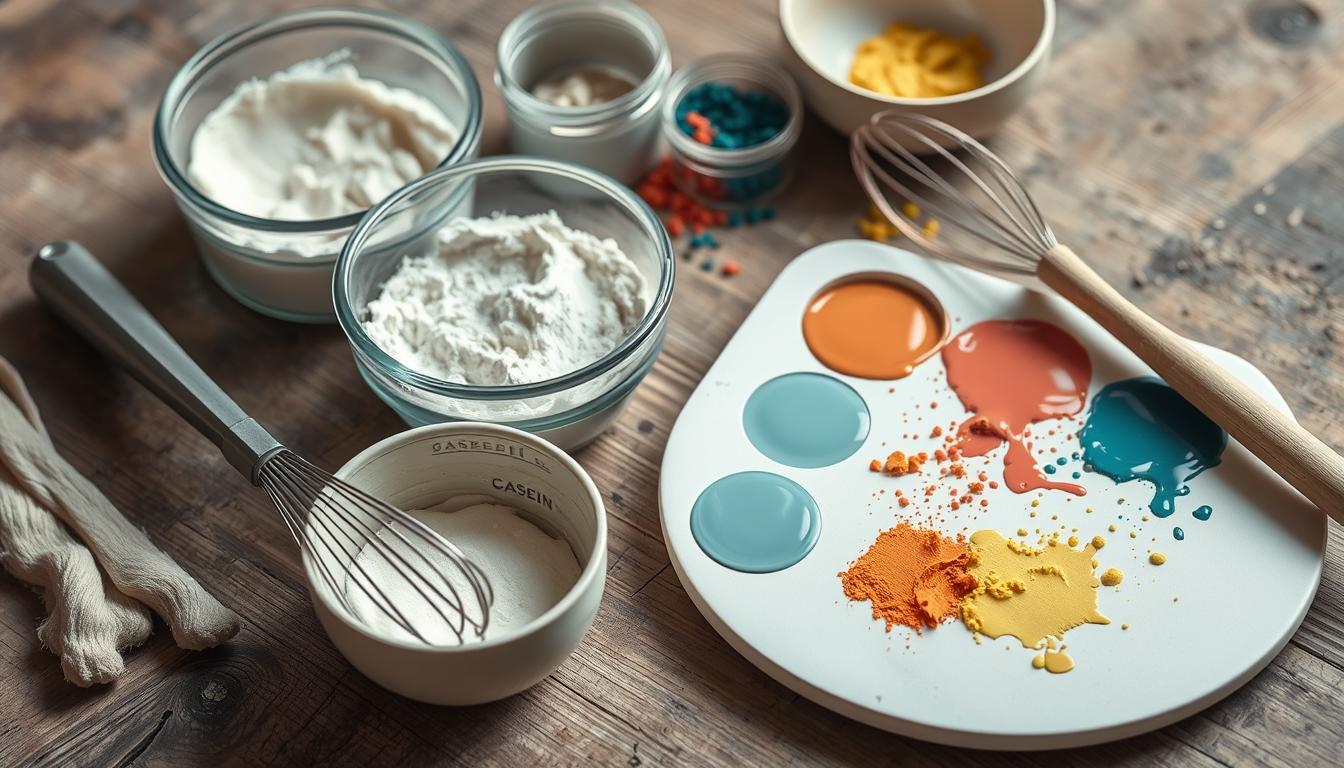
Milk paint is a time-honored medium that has its roots in ancient cultures. The milk paint definition describes it as a non-toxic, biodegradable paint primarily composed of milk paint ingredients such as milk protein (casein), lime, and natural pigments. The combination of these components leads to a chalky, matte finish that adheres wonderfully to various surfaces. Its historical significance highlights how people have favored this eco-friendly paint for decorative uses.
The Advantages of Using Milk Paint
One of the standout benefits of milk paint is its environmental friendliness. Being free from harmful chemicals, it presents a safer option for both home and planet. The milk paint advantages include:
- Easy cleanup with water
- Durability once cured
- Versatility for different materials
- Rich, character-filled finish
- Simplicity in recoating or removing layers
Each of these qualities adds to its appeal for anyone looking to refresh their decor regularly.
Essential Ingredients for Mixing Milk Paint
When preparing to mix milk paint, familiarity with its milk paint mixing components is crucial. The primary ingredients for milk paint include:
- Casein: The milk protein that acts as a binding agent.
- Lime: Helps in alkalizing the mixture and providing structure.
- Talc: Aids in achieving the desired texture.
- Natural Pigments: Offers a wide range of color options.
Understanding the role of each ingredient helps in achieving the right consistency and color vibrancy. Finding high-quality sources for these ingredients can significantly impact the final product.
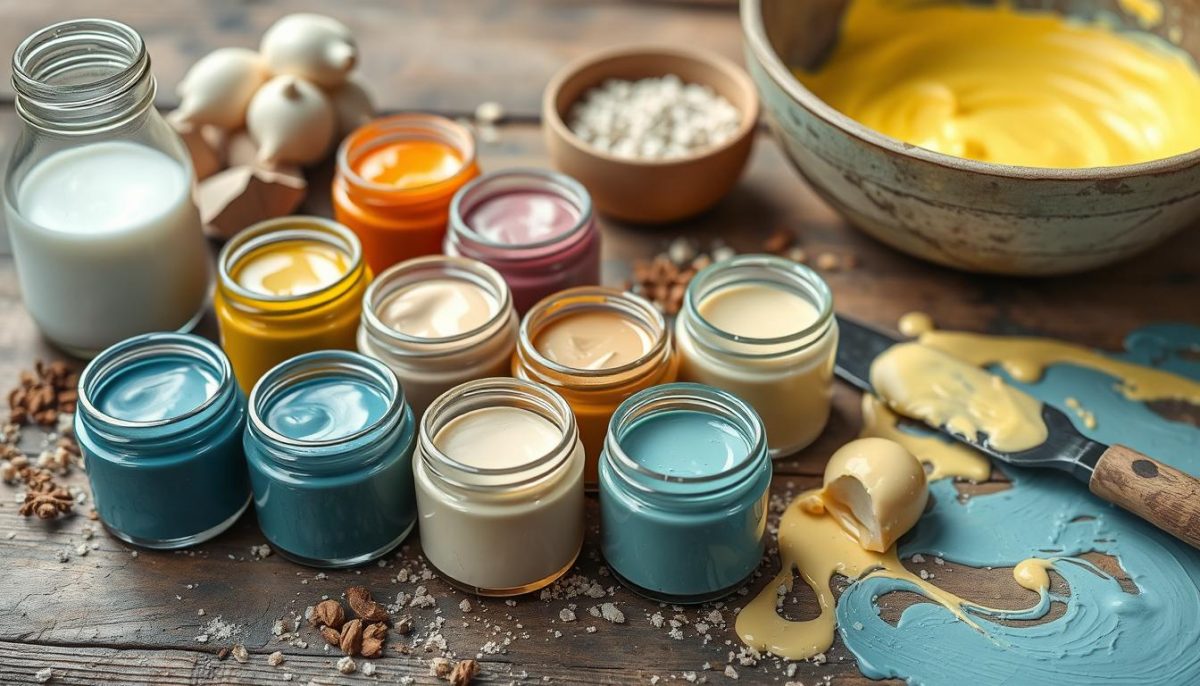
Milk Paint Series- Part 1 How to mix
Before diving into the art of mixing milk paint, it’s essential to gather all the necessary materials. Having the right milk paint supplies on hand ensures that the process flows smoothly and effectively. I find that organizing everything in advance makes a significant difference in the outcome.
Gathering Your Supplies
Here’s a comprehensive list of supplies for mixing milk paint:
- Milk paint powder
- Water
- Mixing container
- Measuring spoons or cups
- Stirring sticks or a whisk
- Protective gear (gloves and mask)
- Drop cloth or newspaper for cleanup
A clean workspace is crucial. It helps avoid cross-contamination and ensures the integrity of the paint mix. I always have extra water on hand for cleanup and diluting the paint as needed.
Step-by-Step Guide to Mixing Milk Paint
Now, let’s focus on how to mix milk paint. Following a structured mixing guide for milk paint can enhance the overall experience. Here’s a simple, effective method:
- Measure the required amount of milk paint powder.
- Add the appropriate amount of water to the mixing container. A common ratio is 1 part powder to 1 part water, but adjust according to preference.
- Stir the mixture until it is smooth and lump-free.
- Check the consistency. If the paint is too thick, gradually add water. If too runny, add a little more powder.
- Store leftover mix in an airtight container, ensuring to use it within a few days to avoid spoilage.
Tips for Achieving the Perfect Consistency
Achieving the right milk paint consistency can be a game-changer in your projects. Here are some milk paint consistency tips to ensure your mix works well:
- Look for a creamy texture that spreads easily without any lumps.
- If the mix appears too thick, gradually add water, mixing thoroughly between each addition.
- For a thinner application, increasing the water content is key.
- Always perform a test patch on a scrap piece to check how the paint behaves once applied.
With practice, mastering how to mix milk paint becomes an enjoyable part of your creative process.
Exploring Color Options with Milk Paint
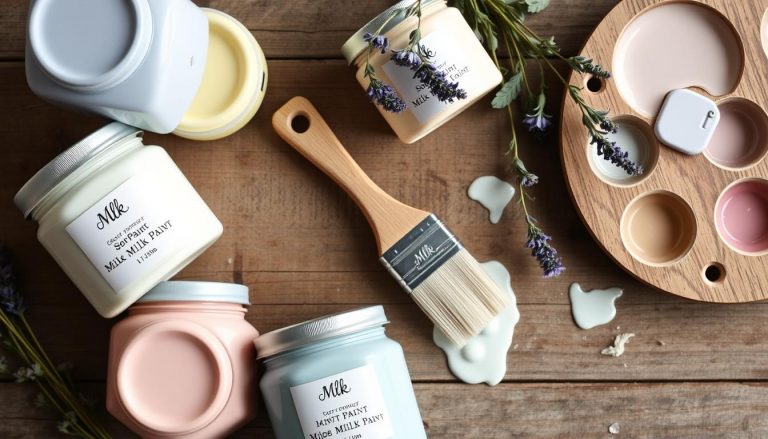
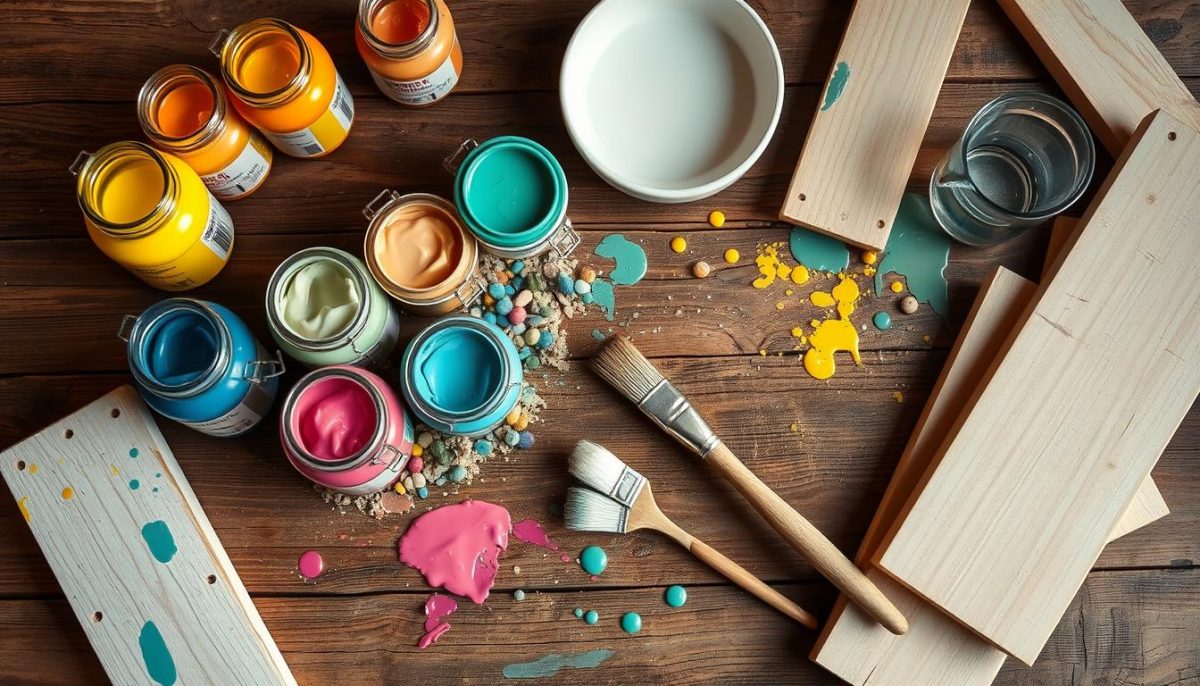
One of the most exciting aspects of working with milk paint is the vast array of milk paint colors available for my projects. Mixing pigments to create custom shades allows me to express my creativity and personalize my home decor. Whether I’m looking for a soft pastel or a bold hue, the color mixing milk paint process can yield stunning results that enhance the aesthetic of any space.
Understanding color theory is essential when exploring milk paint color options. Complementary colors can create striking contrasts, while analogous colors can establish harmony in a room. This knowledge helps me to select the perfect shades for each piece, ensuring that my furniture and decor transformations reflect my individual style and taste.
Another technique I love is layering colors to achieve unique finishes. By applying multiple coats of different shades, I can create depth and visual interest in my projects. This approach works beautifully with milk paint, allowing for endless experimentation. Inspiration can come from nature, fashion, or even art, prompting me to try new combinations and bring my vision to life with vibrant milk paint colors.

