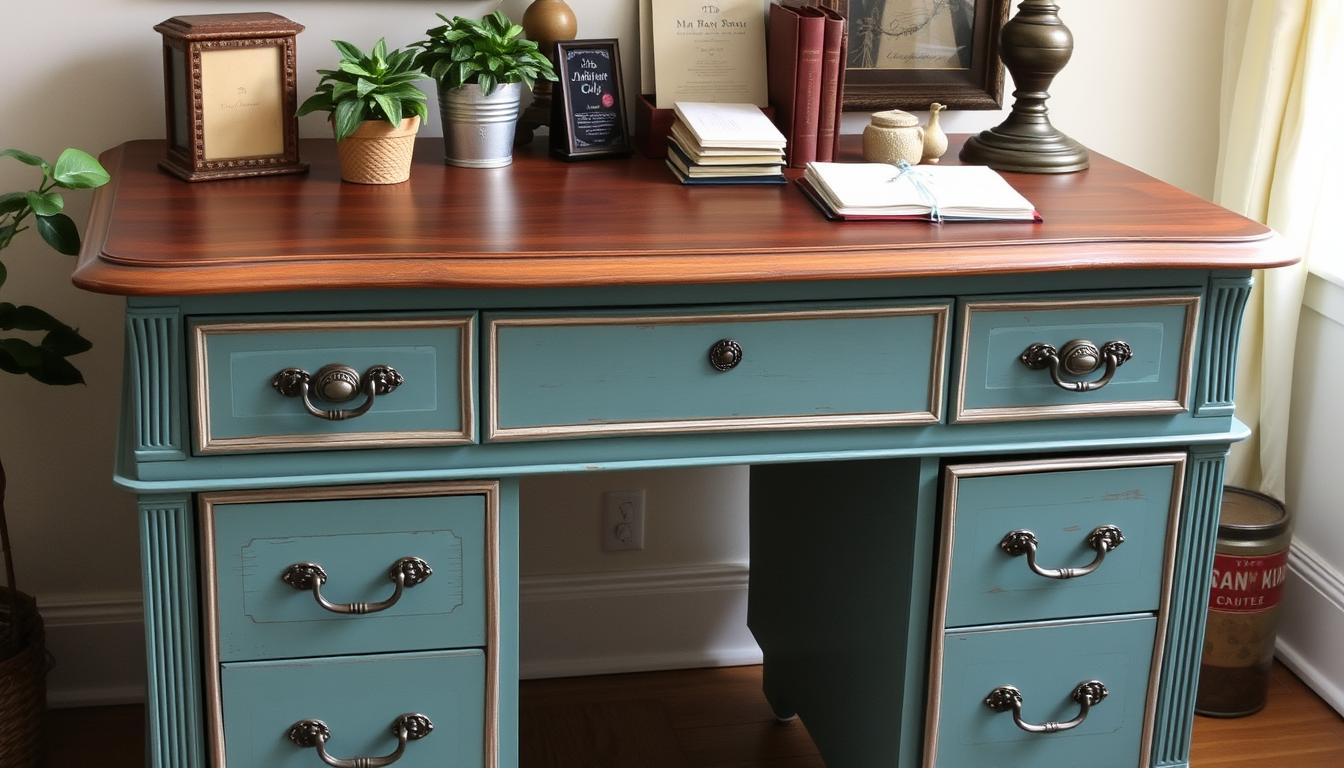
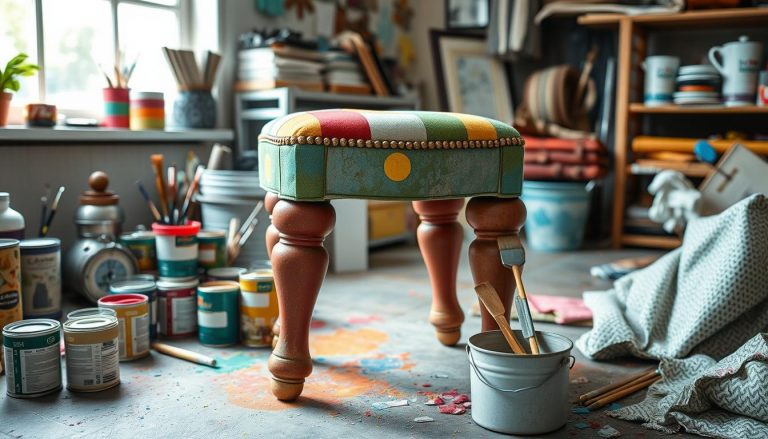
Are you ready to breathe new life into an old piece of furniture? A vintage desk makeover is the perfect opportunity for me to explore furniture upcycling while adding a personal touch to my workspace. These charming desks, often rich in character and sturdy in build, provide the ideal canvas for a desk renovation that not only enhances their aesthetic but also serves my functional needs. In this article, I’ll guide you through a delightful journey of workspace transformation, offering tips and steps to ensure this project is both enjoyable and rewarding.
Why Choose a Vintage Desk Makeover?
Choosing a vintage desk makeover comes with a multitude of advantages that enhance both the workspace and personal experience. The journey of transforming an old piece into a functional work of art not only breathes new life into furniture but also embraces creativity at its finest.
Benefits of Upcycling Vintage Furniture
Upcycling vintage furniture brings numerous benefits for those looking to refresh their spaces. One compelling aspect is sustainability. By repurposing old desks, I contribute to reducing waste and promoting sustainable decor. The unique character and craftsmanship found in vintage pieces often surpasses that of mass-produced alternatives, providing a charm that is hard to replicate. Financially, upcycling also presents a savvy way to create stunning furniture on a budget, making it an appealing option for many.
Personalizing Your Workspace
Personalizing my workspace with a vintage desk provides a unique opportunity to express individual style. Each vintage desk tells a story, allowing me to create a setup that resonates with my personality and boosts my creativity. This tailored approach to design not only enhances the aesthetic appeal of my workspace but also fosters a positive environment that inspires productivity. Embracing vintage furniture advantages ensures my workspace is truly a reflection of who I am.
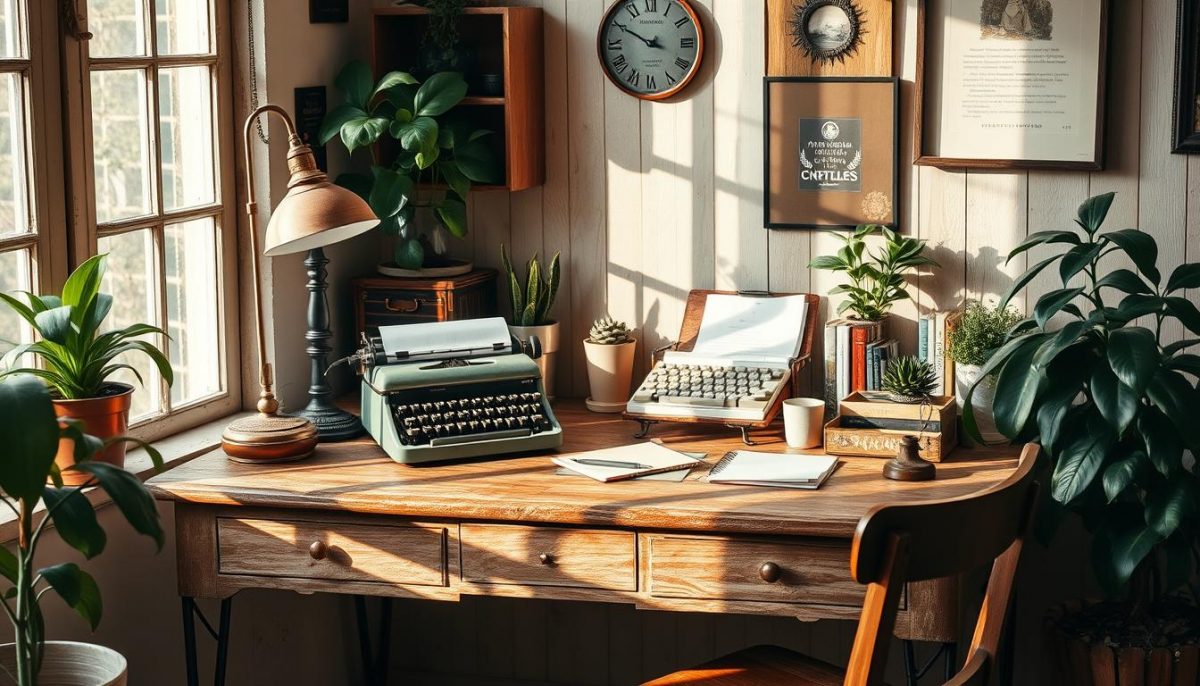
Supplies Needed for Your Vintage Desk Makeover
Before starting my vintage desk makeover, I found that gathering the right supplies is essential for a smooth and successful transformation. I discovered that having the right essential tools and materials easily sets the foundation for creating a beautiful piece of furniture that I will cherish.
Essential Tools for the Job
Some of the key tools I used included:
- Screwdriver
- Sandpaper
- Paintbrush
- Clean cloth
These essential tools helped me prepare the desk surface and apply the finishes effectively.
Choosing the Right Paint and Finishes
When it came time to select paint types, I delved into various options to find the perfect one. Whether I opted for a matte, glossy, or chalky finish, I made sure the chosen paint aligned with my desired aesthetic. Color schemes played a significant role, as I aimed for a palette that would blend seamlessly with my workspace.
Finding Hardware That Complements Your Style
Furniture hardware can truly elevate the entire look of a vintage piece. I focused on selecting knobs and handles that matched my style while enhancing the desk’s vintage charm. The right hardware not only improves functionality but also offers a unique touch, tying together the overall appearance of the desk. The thoughtful combination of supplies for desk makeover helped me achieve a cohesive and appealing result.
| Tool/Material | Purpose |
|---|---|
| Screwdriver | Disassembling furniture parts |
| Sandpaper | Smoothing surfaces before painting |
| Paintbrush | Applying paint evenly |
| Clean cloth | Wiping dust and excess paint |
| Paint type | Finishing touches and color |
| Furniture hardware | Enhancing functionality and style |
Step-by-Step Process for a Successful Vintage Desk Makeover
Embarking on a vintage desk transformation process can be rewarding and fulfilling. Each stage requires careful attention and a touch of creativity. I find that following a systematic approach not only makes the project manageable but also enhances the final outcome. Let’s dive into the key components of this process.
Preparing Your Desk for Transformation
The first step in the desk transformation process involves thorough preparation. Start by clearing off all items from the desk. This includes removing any drawers, hardware, or attachments. Cleaning the surface is vital to ensure that the paint adheres properly. I often use a combination of soap and water, followed by a thorough drying. These preparation steps are crucial as they set the stage for a seamless makeover.
Techniques for Painting and Finishing
Once the desk is clean and prepped, I move on to the painting techniques. Applying a primer helps create a solid base and enhances the vibrancy of the chosen paint color. Using a foam roller can provide a smooth finish, while a brush works well for detailed areas. Layering different colors adds depth and richness to the project. When it comes to applying a top coat, I prefer water-based polyurethane for its durability. This ensures longevity and protection against scratches and spills, completing the essential painting and finishing touches.
Adding Decorative Touches
When the paint and finish are dry, it’s time to personalize the desk further. Adding decorative touches such as stencils can infuse personality into the design. I enjoy selecting new hardware that complements the vintage style while enhancing functionality. Artistic elements such as custom drawer liners or inspirational quotes can give your desk character and charm, making it truly yours.
Vintage Desk Makeover: Tips and Tricks
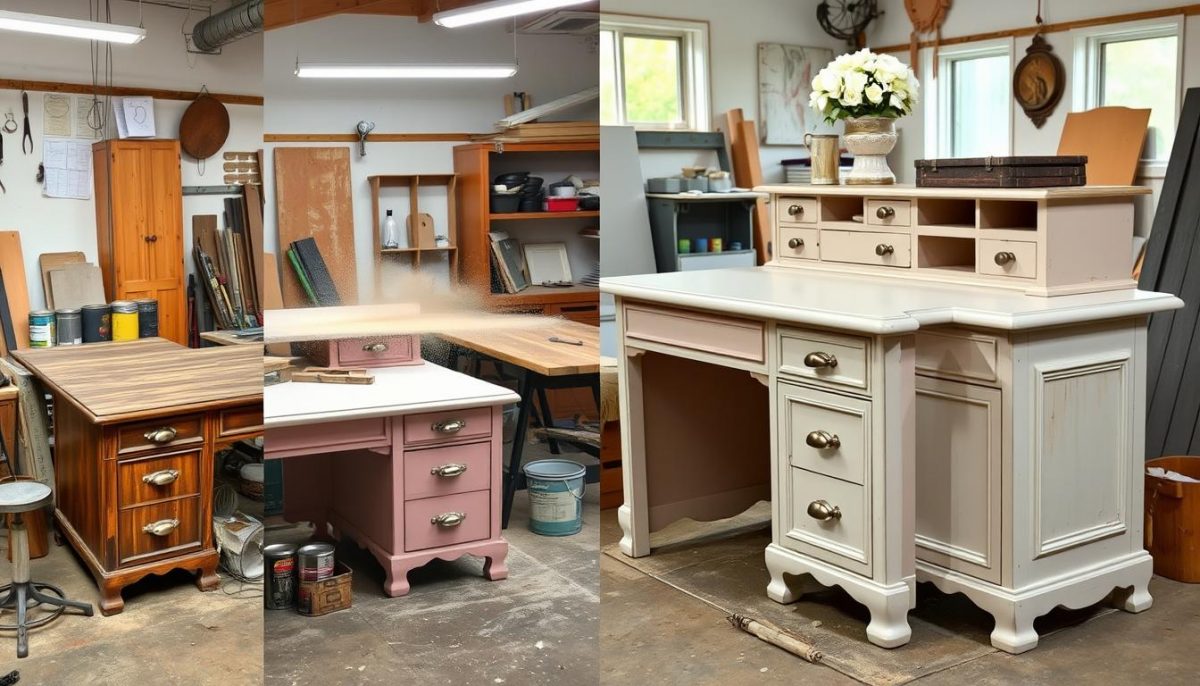
When diving into my vintage desk makeover, I discovered numerous tips that really streamline the process. One of the best makeover tips I learned is to always test paint colors on an inconspicuous area first. This simple step can save a lot of heartache if the shade isn’t quite what you envisioned. I also found that timing is essential; allowing adequate drying time between paint layers not only leads to a smoother finish but also prevents smudges and mishaps.
In addition to the technical aspects, I explored local flea markets and online marketplaces for unique hardware. These desk renovation tricks allowed me to find fantastic pulls and knobs that truly elevated the piece’s individuality. Unique hardware can make all the difference, turning a simple desk into a statement piece that reflects my personal style.
Finally, I recommend maintaining a consistent color scheme with your office decor. This attention to detail makes a harmonious workspace, enhancing productivity and creativity. Using these furniture restoration advice tips not only helped me in my makeover journey but also made the process enjoyable and fulfilling.

