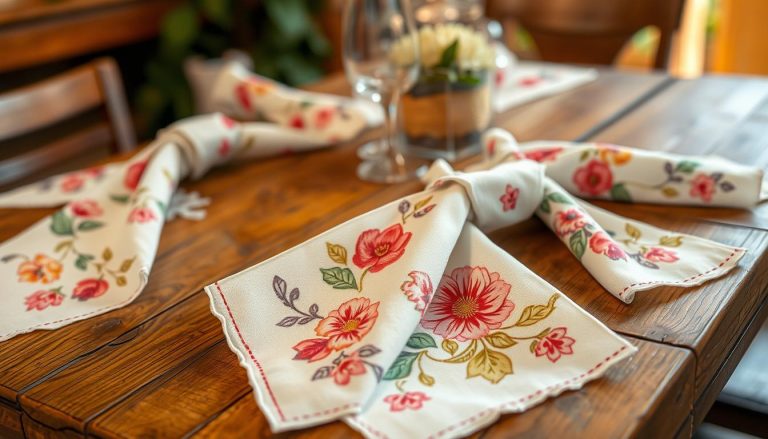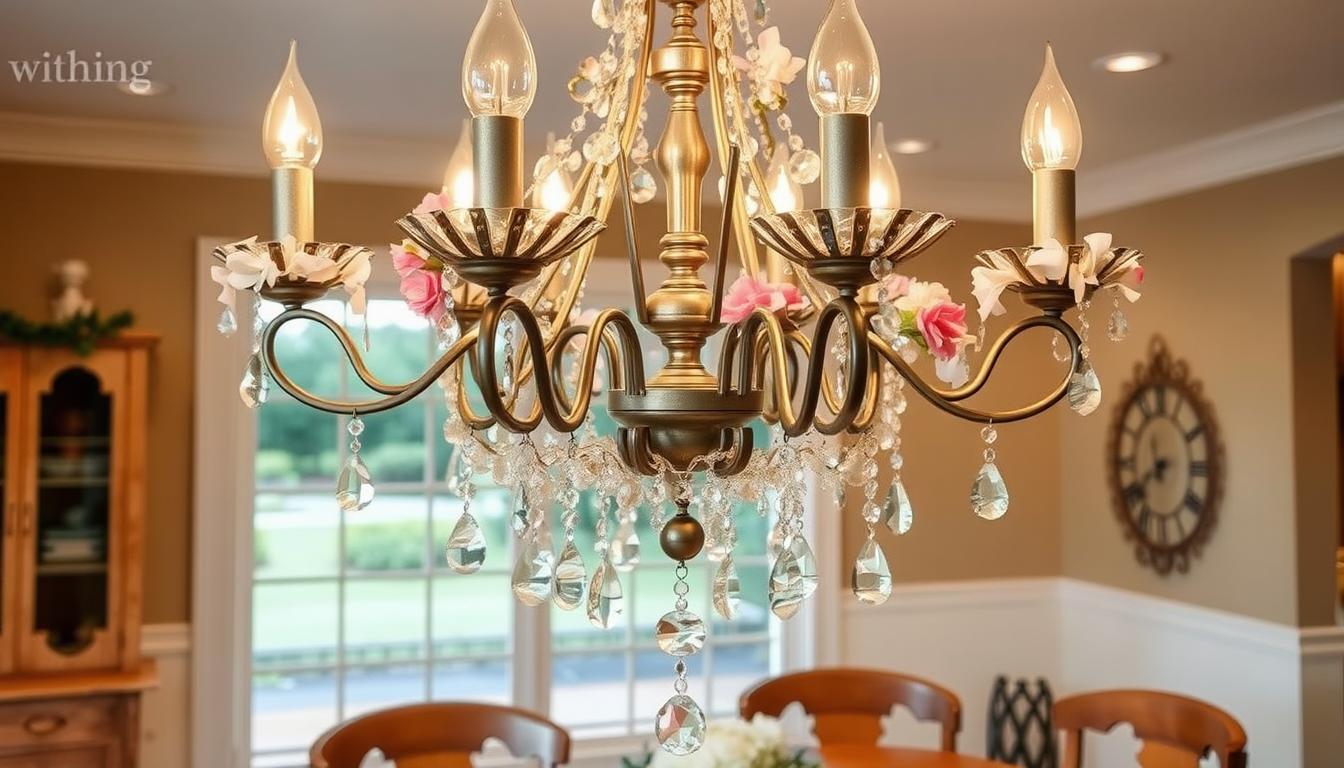
Transforming your dining room can be as simple as updating your lighting with a DIY chandelier makeover. The right chandelier not only enhances the aesthetics of your dining room design but also creates a warm and inviting atmosphere for gatherings. I’ve found that taking a DIY approach can be incredibly cost-effective compared to purchasing a brand-new fixture, plus it offers a unique opportunity to showcase my personal style.
Throughout this guide, I’ll explore the essential aspects of home decor lighting, provide practical tips for your chandelier project, and share some inspiring ideas to help you create a piece that will truly shine in your dining space. But first, let’s dive into the process of picking the perfect chandelier to match your overall decor.
Choosing the Right Chandelier for Your Style
Selecting the perfect chandelier is essential for enhancing the aesthetics of my dining room. The right choice not only complements my existing dining room decor but also sets the overall atmosphere. Several factors come into play when deciding on chandelier styles, materials, and dimensions.
Consider Your Dining Room Decor
The first step in choosing a chandelier is to assess the current style of my dining room. Various chandelier styles, such as modern, vintage, farmhouse, or eclectic, can dramatically alter the room’s vibe. A modern design, for example, might feature sleek lines and minimalist features, while a vintage piece could provide a touch of rustic charm. I often think about how these styles align with my furniture and color schemes to create a cohesive look.
Material and Size Considerations
Understanding chandelier size is crucial for ensuring that it fits well within the space. I always measure my dining table and ceiling height to find a size that feels proportional. The materials used in the chandelier’s construction significantly affect its durability and style. Options like glass, metal, or crystal can bring different qualities to the dining room. For example, a glass chandelier can create an airy feel, whereas metals might lend a more industrial touch.
Finding Inspiration Online
With so many options available, I often turn to the internet for inspiration. Platforms like Pinterest and home decor blogs are treasure troves filled with ideas about chandelier styles and arrangements. Manufacturer galleries also showcase various options, helping me visualize how different chandeliers would look in my space. Gathering ideas from these resources can really spark creativity and lead to unexpected design combinations.

DIY Dining Room Chandelier Makeover
Transforming your dining room chandelier can be an exciting project, bringing both style and personal flair into your space. In this section, I will share the essential DIY supplies needed for the chandelier makeover, outline the chandelier makeover steps, and provide some creative customization ideas that can elevate your DIY decor.
Gathering Your Supplies
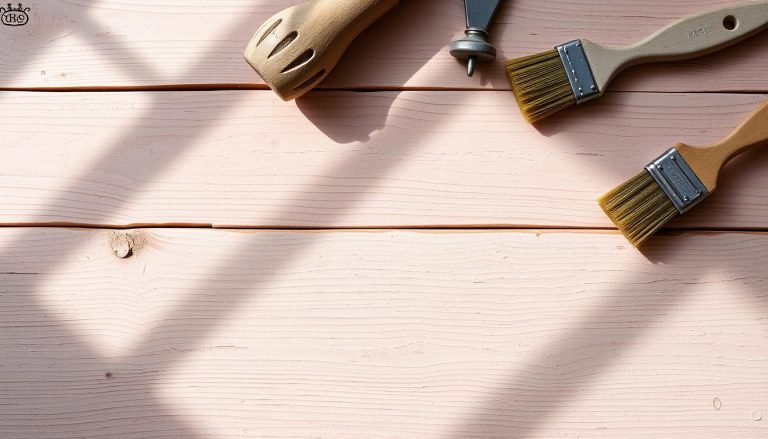
Getting started on your chandelier makeover requires a few specific DIY supplies. Here’s a list of items you will need:
- Chandelier (the one you’re planning to makeover)
- Spray paint or acrylic paint
- Paintbrushes
- Wiring tools (if applicable)
- Replacement bulbs
- Crystals or other embellishments
- Safety goggles and gloves
- Drop cloths for protection
Step-by-Step Makeover Instructions
Follow these chandelier makeover steps to ensure a successful transformation:
- Turn off the power to the chandelier and carefully remove it from its mounting.
- Clean the chandelier thoroughly to remove any dust or grease.
- If needed, disassemble components to make painting easier.
- Use safety goggles and gloves for protection while working.
- Apply spray paint or acrylic paint evenly on the chandelier, allowing for drying time between coats.
- Reattach any previously removed components once dry.
- Replace bulbs and add embellishments such as crystals for an upgraded look.
- Carefully rehang the chandelier and restore power.
Creative Customization Ideas
To add a personal touch to your chandelier, consider these customization ideas:
- Use metallic spray paint for a modern look.
- Incorporate colorful shades or light bulbs.
- Hang additional crystals or decorative elements for extra sparkle.
- Mix different materials such as wood or glass for a unique design.
- Experiment with alternative light sources like LED strips for an inviting glow.

Maintaining Your Newly Transformed Chandelier
Now that I’ve successfully transformed my chandelier, I realize that taking care of it is just as crucial as the makeover itself. Proper chandelier maintenance is essential not only for preserving its beauty but also for ensuring its longevity. One of the first things I learned is how to keep it clean. Regular dusting and wiping down the fixture can keep it sparkling. I use a soft, lint-free cloth and a gentle cleaning solution to avoid damaging any finishes. This simple step helps to prevent dust and soot buildup, which can dull the shine of my beloved fixture.
Next, I pay attention to the materials of my chandelier when selecting cleaning products. Avoiding harsh chemicals is key, as they can damage the delicate finishes many chandeliers have. I found that using warm water mixed with a mild soap does wonders for my brass and crystal chandeliers. This approach also falls under chandelier care practices that protect my investment and keep it looking fresh. I simply make sure to gently clean all the surfaces, from the arms to the bulbs, ensuring that no residue remains after the process.
Lastly, I make it a habit to conduct periodic checks on my chandelier. Regular inspections allow me to assess the wiring, bulb functionality, and overall structural integrity. By staying proactive and attentive, I can spot any issues before they require serious attention. These routine checks not only extend the lifespan of my chandelier but also contribute to preserving home decor that I genuinely adore. Prioritizing maintenance is truly a small effort that leads to long-lasting enjoyment of my transformed chandelier.