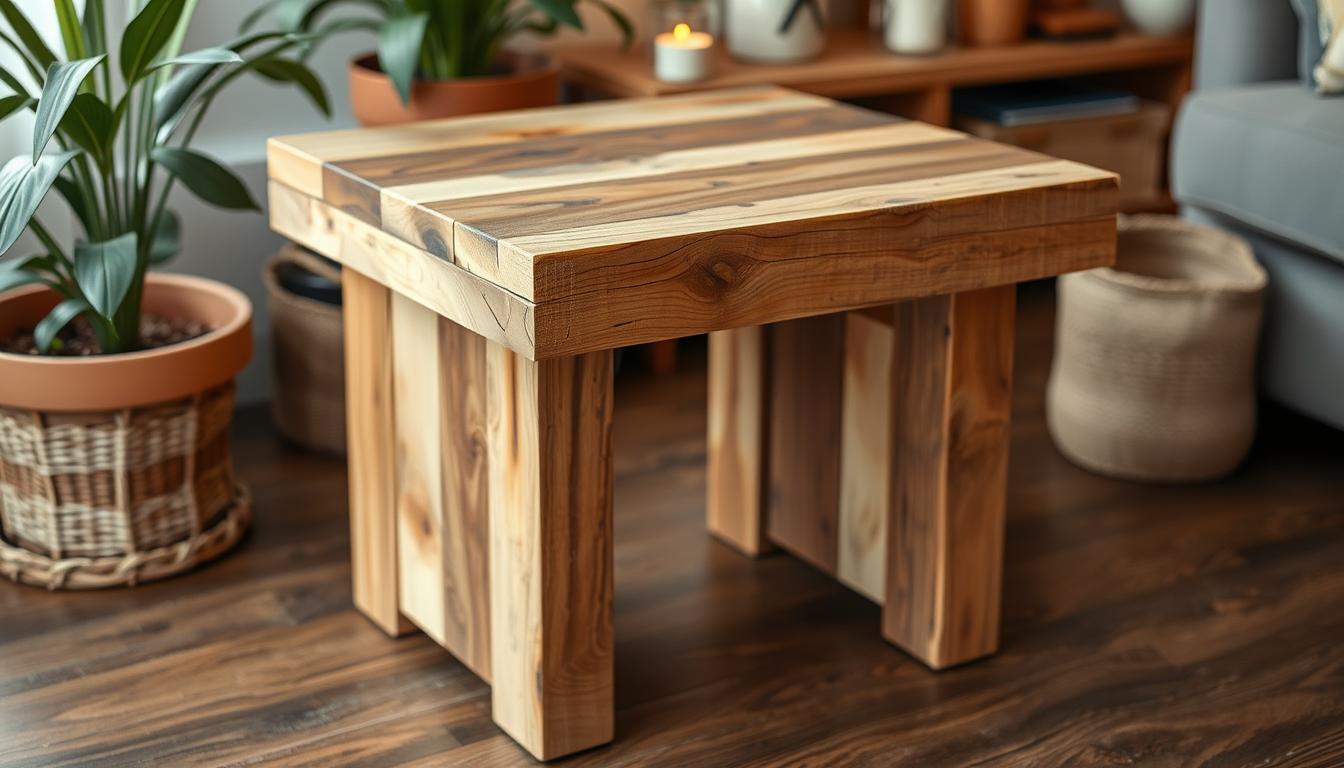
I’ve always admired the rustic charm of farmhouse style decor, and I found the perfect way to add a personal touch to my space: creating a DIY side table using scrap wood. This project is not only cost-effective but also an environmentally friendly choice, allowing me to recycle materials that might otherwise go to waste. In this guide, I will share simple, step-by-step instructions to help anyone craft their own charming and functional piece of rustic furniture, regardless of their woodworking experience.
What You’ll Need for Your DIY Project
When embarking on my DIY farmhouse style side table, gathering the right materials and tools is crucial. Without the appropriate woodworking tools and materials, the project can turn into a frustrating experience rather than a rewarding one. Here’s what I found indispensable for completing the job successfully.
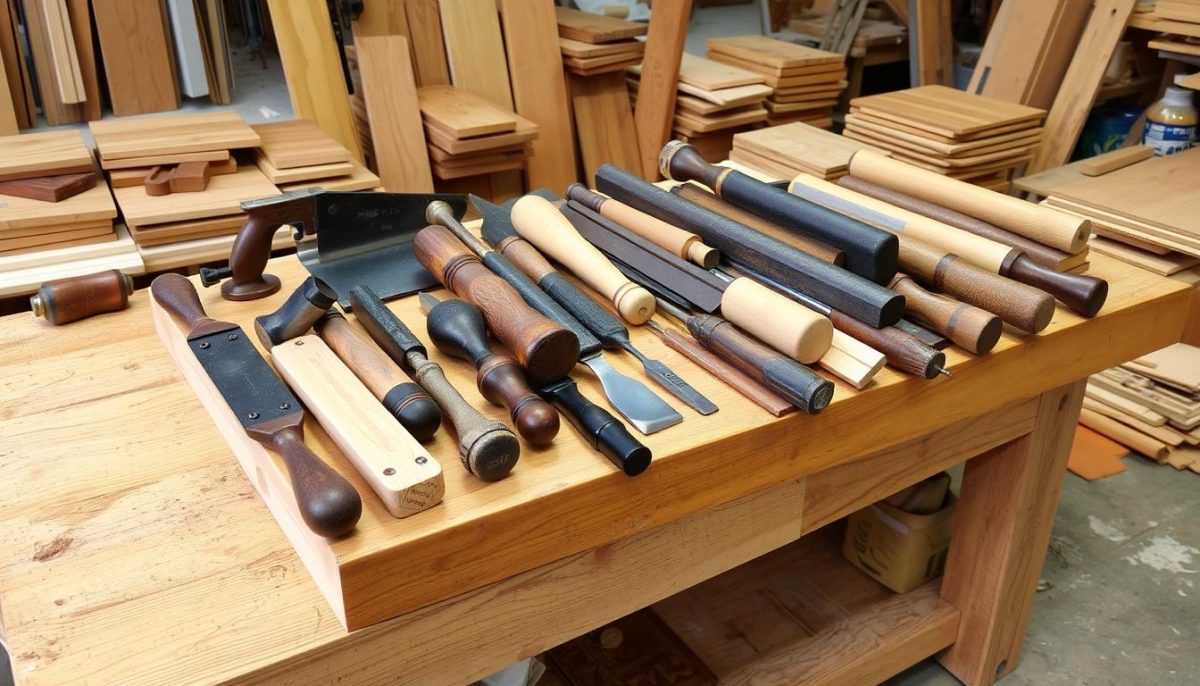
Essential Tools for the Job
First, having the right woodworking tools is essential. Here’s a list of what I consider must-haves:
- Circular saw
- Drill with drill bits
- Screwdriver set
- Measuring tape
- Square for right angles
- Sanding block or electric sander
- Pencil for marking measurements
Types of Scrap Wood to Consider
Choosing suitable scrap wood types can significantly enhance the final look of the side table. My personal favorites for this project include:
- Pine: Lightweight and easy to work with
- Oak: Durable and gives a classic look
- Maple: Offers a smooth finish and is sturdy
- Plywood: Cost-effective and versatile for various designs
Additional Materials for Finishing Touches
Finally, there are a few additional DIY materials that will contribute to the overall aesthetic of the project:
- Wood glue for strong joints
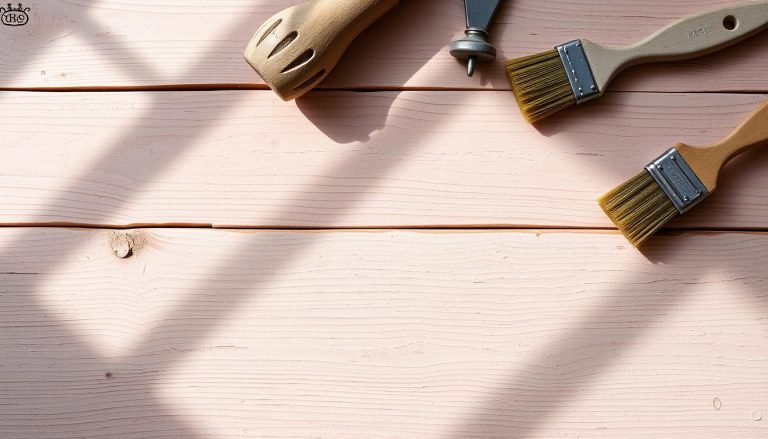
- Wood stain to enhance the natural look
- Paintbrushes for applying finishes
- Varnish to protect the wood
Step-by-Step Instructions for Building Your Side Table
Creating my farmhouse style side table using scrap wood has been a rewarding experience. By following these DIY instructions, you can embark on your own exciting woodworking project steps. Together, let’s explore the preparation and the actual building process.
Preparation and Planning Your Design
Before diving into the construction, planning your design is essential. Here are a few steps to consider:
- Decide on the dimensions of your table to fit your space.
- Sketch a blueprint to visualize the final product.
- Gather all materials needed for your home decor DIY project.
Cutting and Assembling the Pieces
With your design in hand, it’s time to cut and assemble the pieces. This phase is vital to ensuring everything fits together properly.
- Begin by measuring and marking your scrap wood according to your plan.
- Using a saw, carefully cut each piece, focusing on precision.
- Assemble the pieces by securing them with screws and wood glue for stability.
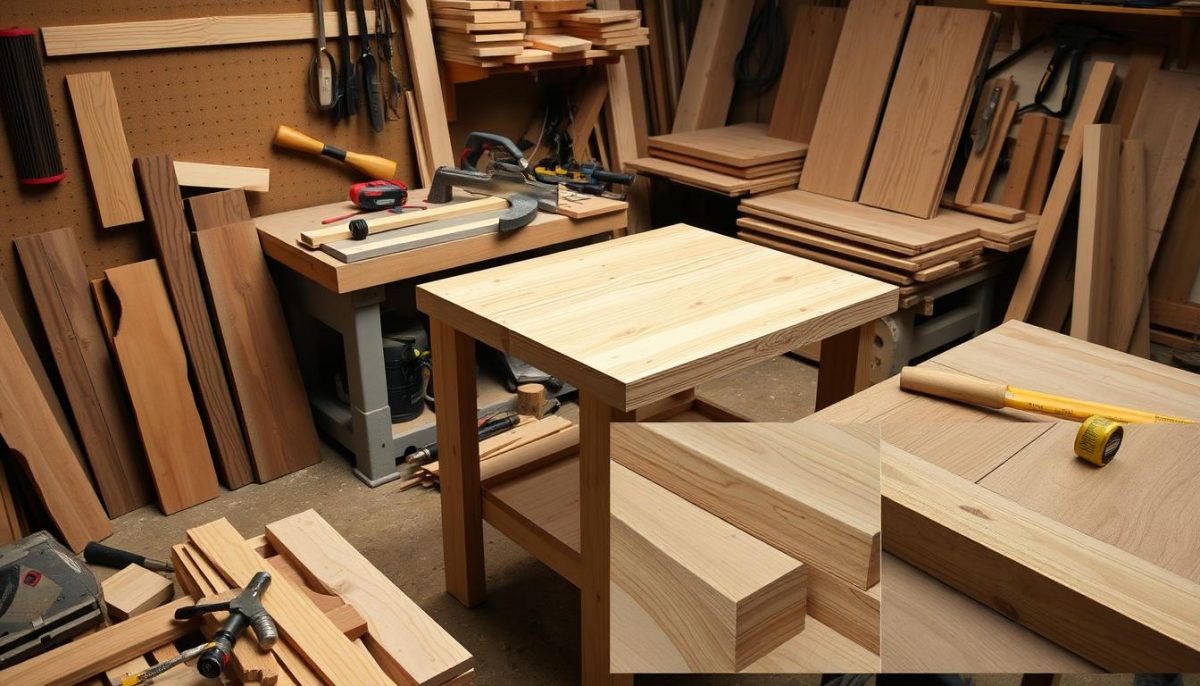
Following these woodworking project steps will make your DIY journey smooth and enjoyable. I find that taking the time to plan effectively yields the best results.
| Step | Description | Materials Needed |
|---|---|---|
| 1 | Plan your design | Pencil, paper, ruler |
| 2 | Measure and mark | Tape measure, square |
| 3 | Cut pieces | Saw, protective goggles |
| 4 | Assemble structure | Screws, drill, wood glue |
This table outlines essential steps in your DIY home decor project. I look forward to seeing how your side table turns out!
DIY Farmhouse Style Side Table Using Scrap Wood: Tips for Success
To ensure my DIY farmhouse style side table project goes smoothly, I’ve picked up several DIY tips that make all the difference. First and foremost, always measure twice and cut once—this old adage holds true for any woodworking project. Taking the time to plan your dimensions can save you from frustration and wasted materials in the long run. After preparing my design, I made sure to lay out all my pieces before beginning assembly, which allowed me to visualize the final product before committing to construction.
Embracing the character of scrap wood is key to achieving that authentic farmhouse look. I found that mixing different types of wood can create a beautiful, rustic appearance. Selecting aged or weathered wood not only contributes to the table’s charm but also enhances its strength. For anyone looking to try their hand at farmhouse furniture projects, I recommend using wood glue alongside screws for extra stability—this combination has proven vital in my own builds.
Finally, the finishing touches are where I really let my creativity shine. Whether opting for a simple stain or a distressed paint finish, these details can elevate my project significantly. By incorporating these essential DIY tips and focusing on each step, I am confident that anyone can achieve woodworking success in crafting their own farmhouse-style side table from scratch. Remember, the process should be enjoyable, so have fun experimenting with your designs!

