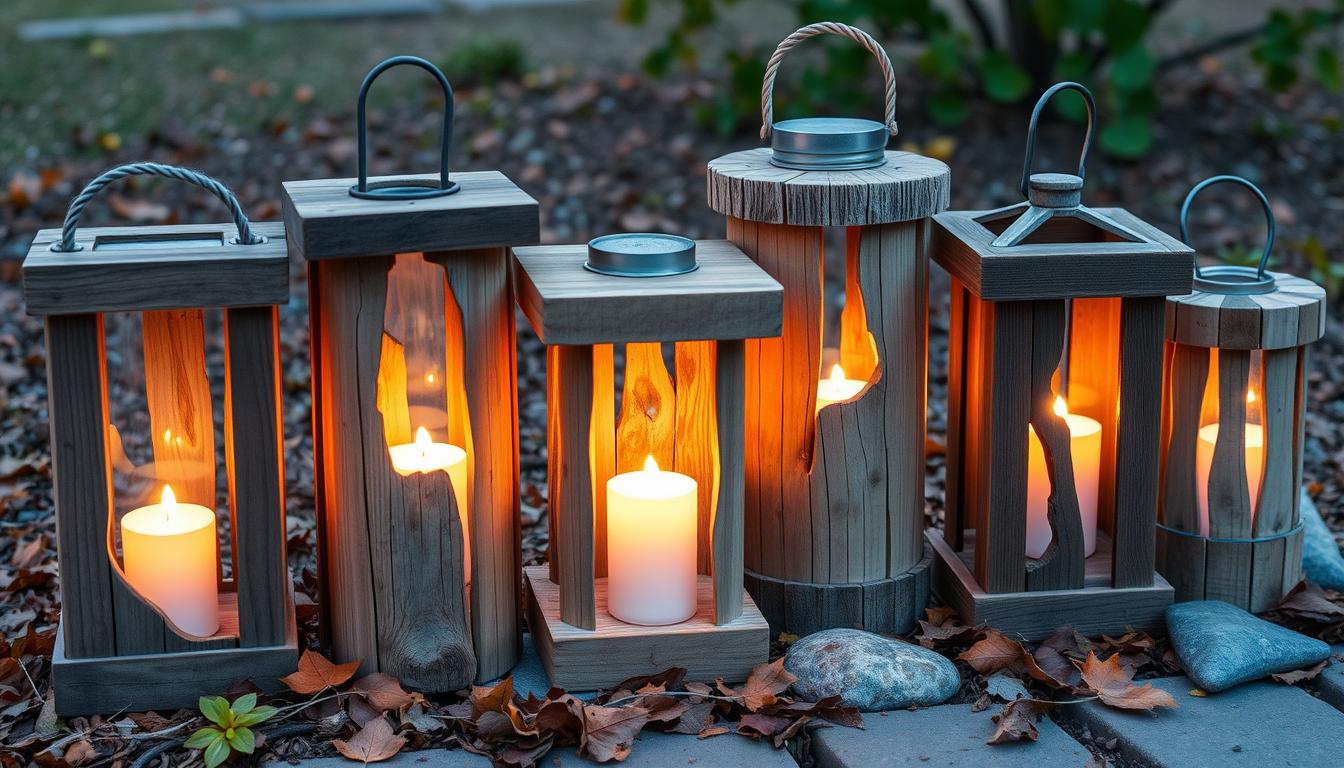
Creating DIY Scrap Wood Lanterns has become one of my favorite pastimes. These homemade lanterns not only add charm to my living space but also embody the spirit of upcycled décor. I love how scrap wood projects allow me to express my creativity while being eco-friendly. Whether you’re after a rustic warmth or a sleek modern look, transforming leftover wood into beautiful lanterns is both satisfying and fun. Join me as I delve into the world of wood crafting, where I’ll share my journey of making unique lanterns that illuminate not just my home, but also my crafting spirit.
Understanding the Beauty of Scrap Wood
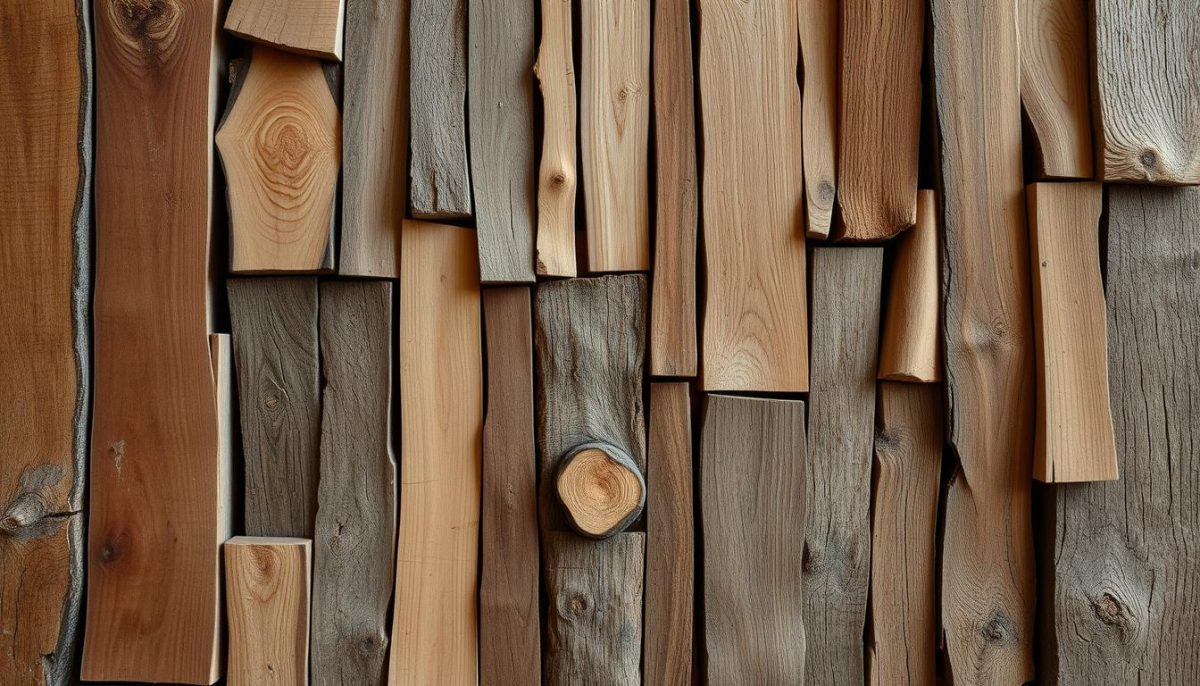
Crafting lanterns from scrap wood is not just a creative endeavor but also a meaningful way to promote sustainable crafting. The benefits of scrap wood are numerous, as it helps reduce waste and adds unique character to each project. Using recycled wood projects can transform what might be discarded into beautiful, functional art pieces.
Why Choose Scrap Wood for Your Lanterns?
Using scrap wood for lanterns provides an array of advantages. Each piece carries its history, which lends a special charm to your creations. This approach to crafting celebrates imperfections, encouraging a handcrafted aesthetic while supporting environmental sustainability. Choosing scrap wood means you are actively participating in a greener lifestyle, reducing the need for newly harvested materials.
Types of Scrap Wood You Can Use
When selecting types of wood for lanterns, consider various options based on both aesthetic appeal and practicality. Common choices include:
- Pine: Lightweight with a pale color, pine is easy to work with and readily available.
- Cedar: Naturally resistant to moisture, cedar is great for outdoor lantern projects.
- Oak: Known for its strength and durability, oak offers a beautiful grain pattern.
The combination of textures and colors in scrap wood brings depth to any lantern design, ensuring that each piece reflects individual creativity. Understanding the types of wood will empower anyone looking to create their unique lanterns.
DIY Scrap Wood Lanterns: Step-by-Step Guide
Creating DIY scrap wood lanterns is a rewarding project that combines creativity and craftsmanship. With the right lantern-making tools and materials, I can turn simple pieces of scrap wood into beautiful, functional lanterns. This guide will walk me through the essential tools and materials needed, the steps to cut and prepare the wood effectively, and how to assemble my lantern securely.
Tools and Materials Needed
Before I dive into the project, gathering the correct tools and DIY crafting materials is crucial. Here’s what I’ll need:
- Saw (hand saw or power saw)
- Nails and/or screws
- Wood glue
- Sandpaper (various grits)
- Measuring tape
- Square
- Pencil for marking
- Drill (for pilot holes)
- Finish (paint, stain, or sealer)
Cutting and Preparing the Wood
The next step focuses on cutting and preparing the wood. Starting with a well-measured plan is essential, ensuring all pieces fit well together. I will follow these steps:
- Measure and mark the wood according to the desired dimensions.
- Use a square to ensure clean, straight cuts.
- Carefully cut the wood pieces with the saw, maintaining a safe, steady grip.
- After cutting, use sandpaper to smooth any rough edges, which prevents splinters and enhances the appearance of my lantern.
Assembling Your Lantern
Now, it’s time for assembling lanterns. The assembly phase brings all my hard work together. Here’s how I proceed:
- Start with a base panel, attaching the side pieces with wood glue and nails or screws.
- Ensure the structure is square by measuring diagonally from corner to corner.
- Attach the top panel securely, using the same method as the sides.
- Finally, add any decorative elements or features I desire, such as a handle or cut-out designs.
Personalizing Your Scrap Wood Lanterns
Getting creative with scrap wood lanterns allows me to truly express my personal style. I find that the process of personalization not only enhances the aesthetic appeal of each lantern but also adds a special touch to my DIY home décor. Methods like painting and adding decorative elements can transform a simple lantern into a stunning focal point in any room.
Painting and Finishing Techniques
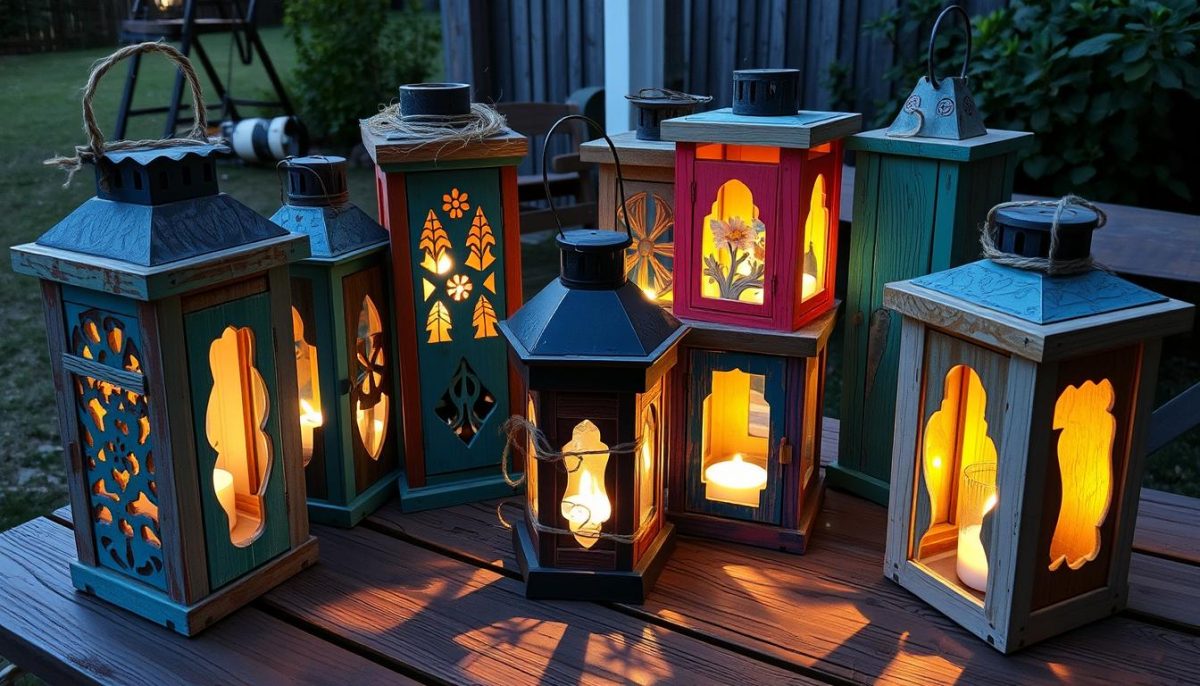
Choosing the right painting techniques can significantly impact the overall look of my lanterns. Options such as staining offer a beautiful way to showcase the wood’s natural grain, while chalk paint provides a matte finish that complements rustic styles. My favorite approach involves selecting a color scheme that reflects my home décor, whether that means earthy tones for a cozy feel or bright colors for a vibrant touch.
Adding Decorative Elements
To take my scrap wood lanterns to the next level, I often incorporate decorative ideas such as twine, beads, or stencils. Twine wrapped around the lantern creates a charming, farmhouse vibe. Beads can add a fun pop of color, while stencils offer endless possibilities for intricate designs. These elements enable me to personalize lanterns, making them unique and tailored to my taste.
| Technique | Description | Best For |
|---|---|---|
| Staining | Enhances natural wood grain with color. | Traditional and rustic styles. |
| Chalk Paint | Provides a matte finish, easy to distress. | Shabby chic and vintage looks. |
| Decorative Twine | Wrapped around the body for texture. | Farmhouse and coastal themes. |
| Stencils | Create intricate designs by applying paint through cutouts. | Modern and artistic styles. |
Incorporating Your Lanterns into Home Decor
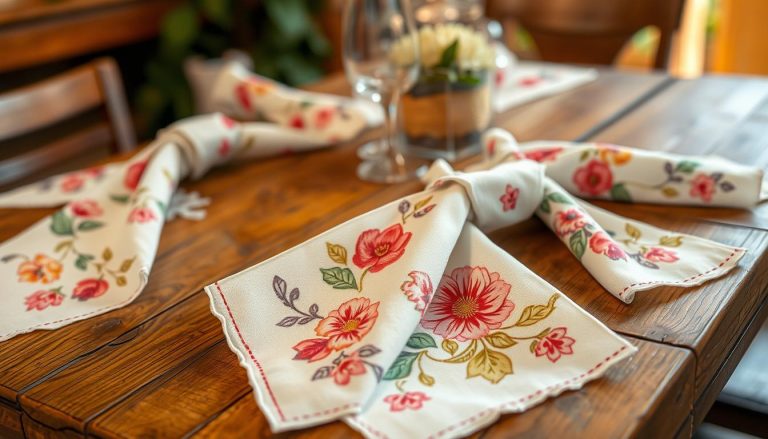
Once I’ve crafted my scrap wood lanterns, the next exciting step is figuring out how to integrate them into my home décor. Utilizing lanterns in décor can immediately enhance living spaces with warmth and character. For instance, placing a lantern as a centerpiece on my dining table can create a inviting atmosphere, especially during dinner parties or family gatherings.
I love the idea of showcasing my lanterns on shelves or mantels. They can be paired with books, plants, or framed photos for an aesthetically pleasing arrangement. Seasonal decorations are also a fun way to keep things fresh; I often switch out the elements around my lanterns to reflect holidays or changes in the seasons, further enhancing the overall look with minimal effort.
Hanging lanterns can be particularly striking, creating a cozy ambiance in my living space. Whether I opt for twinkling fairy lights inside or using candlelight, these rustic pieces can add charm to any setting. Combining these lanterns with other decorative elements, such as fresh greenery or vibrant candles, results in a beautifully harmonious display. Through DIY interior design, my creations not only beautify my home but also serve as a constant reminder of the joy in crafting something unique.

