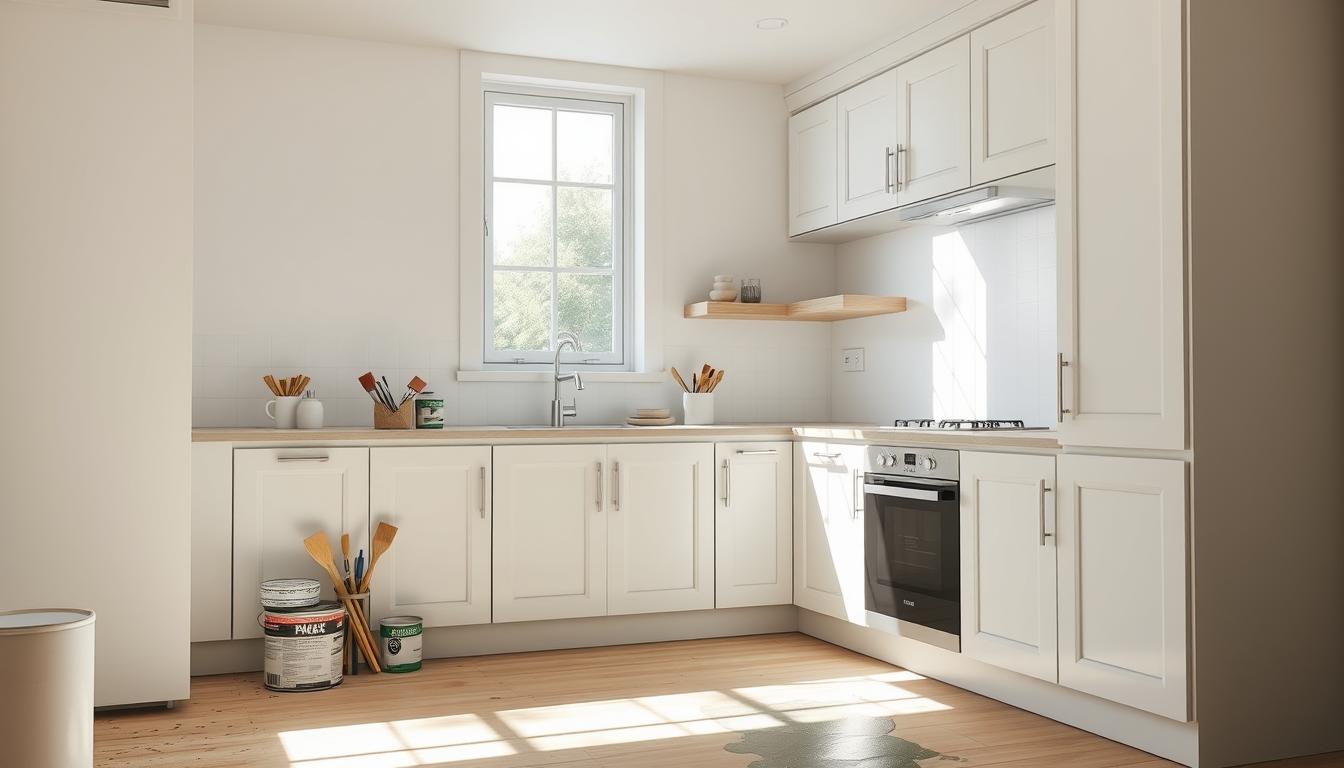
Welcome to my ultimate guide on kitchen cabinet painting! If you’re considering a DIY kitchen makeover, painting your cabinets can be a highly effective way to freshen up your space without breaking the bank. In this journey, I’ll share valuable insights into the importance of cabinet preparation and selecting the right painting products to achieve that professional finish.
Cabinet preparation is key to ensuring your painted cabinets look stunning and last for years. Whether you want to update an old or worn appearance or simply add a personal touch to your kitchen, taking the time to plan your project is critical. I’ll walk you through gathering the necessary tools and materials to help streamline your process, so you can enjoy a beautifully transformed kitchen.
Understanding the Importance of Prep Work
Cabinet prep work is the backbone of a successful cabinet refinishing project. The time and effort spent on surface preparation can make a significant difference in paint adhesion and overall durability. Neglecting this crucial stage often leads to unsatisfactory results, such as peeling or uneven finishes. I found that taking a thorough approach not only enhances the final appearance but also prolongs the life of the cabinets.
Why Prep Work is Essential
Proper surface preparation is vital for several reasons. First, it ensures that the new paint adheres well to the surface. Without adequate cleaning and sanding, dust or grease can result in a finish that peels off easily. Second, this step acts as a barrier against moisture and other environmental factors. Last but not least, a well-prepped surface allows for a smoother application of paint, making the finishing work much more aesthetically pleasing.
Tools I Use for Preparing Cabinets
To achieve the best results, I rely on a variety of painting tools designed specifically for cabinet refinishing. Here’s a list of the essential tools I keep on hand:
- Sanders: I prefer using an orbital sander for quick and effective sanding.
- Brushes: A high-quality angled brush provides precision when painting corners and edges.
- Primers: Rust-Oleum primer works well for creating a solid base coat.
- Cleaners: I find that Klean-Strip cleaner effectively removes grease and grime.
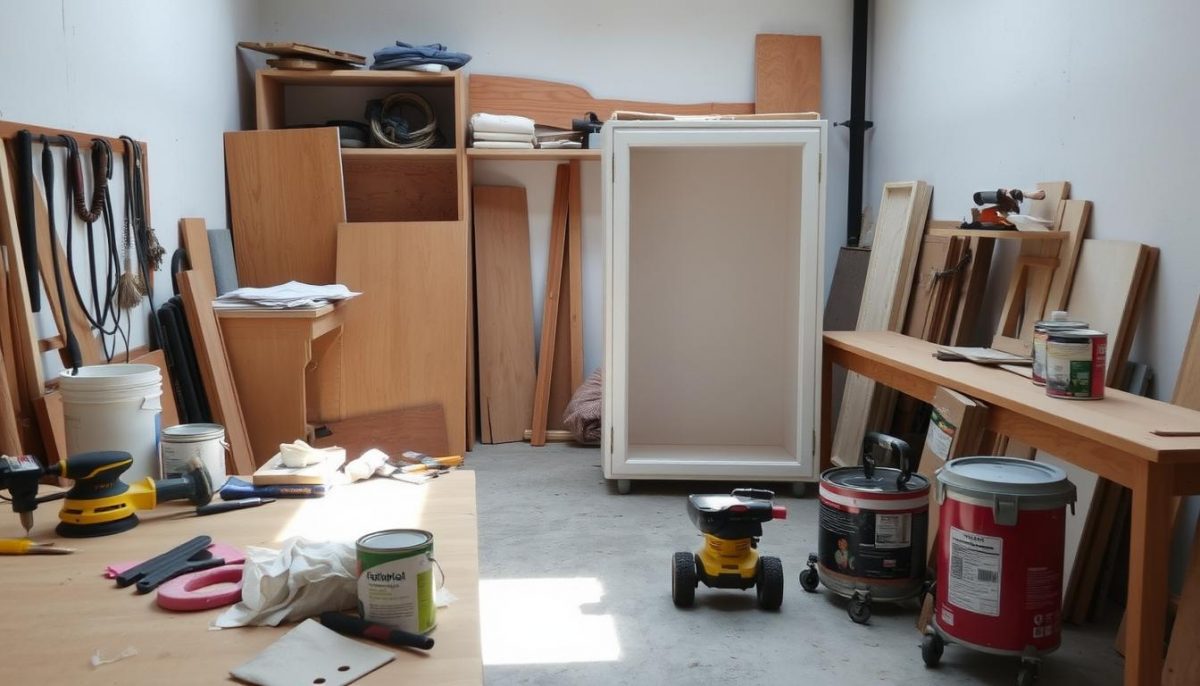
With the right tools and a strong focus on surface preparation, I have consistently achieved impressive results in cabinet refinishing projects. Each step contributes to a beautiful and lasting finish that transforms the appearance of any kitchen.
Painting Kitchen Cabinets-Prep and Products
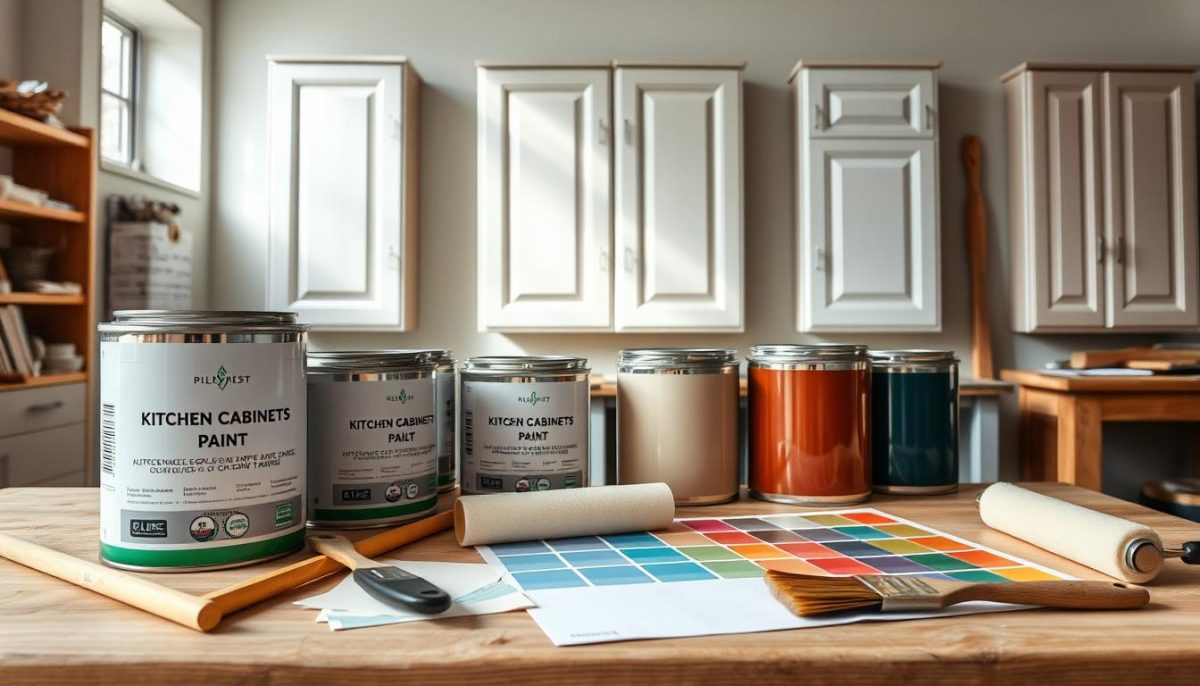
Choosing the right paint and products for your kitchen cabinets can transform them into a stunning focal point of your home. Various types of paint, along with essential cabinet-painting products, play crucial roles in achieving a high-quality finish. Understanding the benefits and drawbacks of each option aids in making an informed decision.
Choosing the Right Paint for Cabinets
When selecting the best paint for cabinets, consider the following types:
- Latex Paint: This water-based option is easy to clean and dries quickly. It offers a wide range of colors but may require multiple coats for full coverage.
- Oil-Based Paint: Known for its durability and smooth finish, oil-based paint provides a premium finish. The drying time is longer, and cleanup requires solvents.
- Chalk Paint: Perfect for a vintage or matte look, chalk paint adheres well and requires less prep work. However, it may need a protective topcoat for durability.
My personal recommendations for trusted brands include Benjamin Moore and Sherwin-Williams. They offer an array of colors and premium finishes that can elevate any cabinet makeover project.
Essential Products for a Successful Project
To achieve a flawless finish, gathering essential DIY supplies is vital. Here are some products I find indispensable:
- Topcoats: Applying a clear topcoat can protect your cabinets from wear and tear while enhancing sheen.
- Paint Sprayers: For a smooth, even finish, a quality paint sprayer can save time and reduce brush marks.
- Painter’s Tape: This is essential for achieving clean lines and preventing paint from bleeding onto adjacent surfaces.
Investing in these cabinet-painting products will set the stage for a successful transformation, ensuring your kitchen cabinets look professional while maintaining their beauty for years to come.
| Paint Type | Advantages | Disadvantages |
|---|---|---|
| Latex Paint | Quick drying, easy cleanup | May require multiple coats |
| Oil-Based Paint | Durable, smooth finish | Long drying time, solvent cleanup |
| Chalk Paint | Low prep, vintage look | Needs a protective topcoat |
Executing the Painting Process
Now that I have prepared the surfaces and gathered my materials, it’s time to dive into the painting process. The key to achieving a high-quality finish lies in the cabinet painting techniques I employ. Starting with the edges and corners, I find it crucial to use a small brush for precision. This allows me to cover those tricky spots without leaving gaps or drips. For larger areas, I prefer using a sprayer, as it evenly distributes the paint and saves time.
I apply my first coat of paint, ensuring it’s thin yet consistent across all surfaces. Thin layers help avoid runs and promote faster drying times, leading to enhanced depth in color as I build up additional layers. To optimize the finish, I usually wait about 24 hours between coats. Each layer contributes to a professional look, and trust me, the effort is worth it when you see the glossy finish form.
Once I’ve achieved the desired color and depth, the finishing touches are essential. I make sure to reattach the hardware carefully, ensuring everything feels cohesive. Finally, I clean up any paint drips and take a moment to admire my work. This home improvement project transforms the entire kitchen and demonstrates the impact of careful planning and execution in the cabinet painting process. Taking the time to focus on these details makes a significant difference in the overall outcome.

